
 Pin
Pin
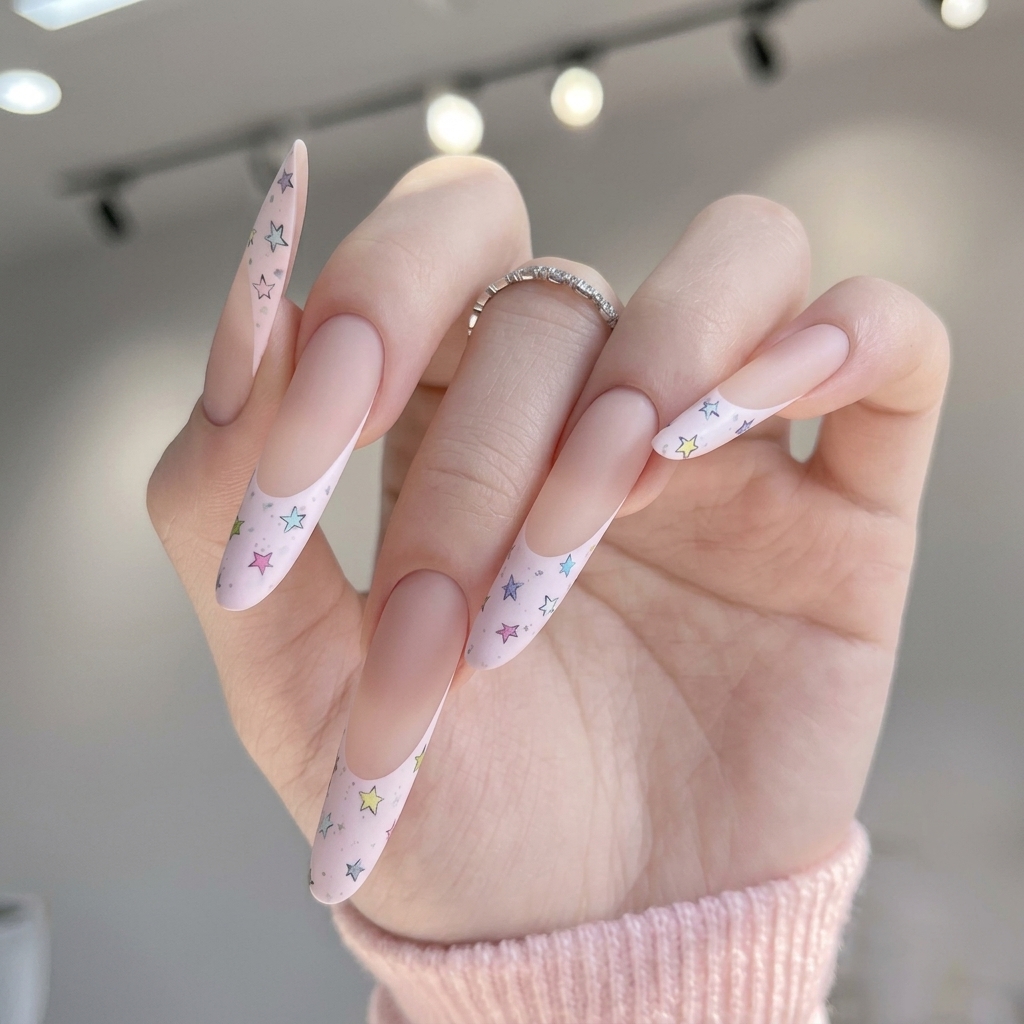
This pastel star French mani has become a total go-to whenever I want a dreamy, modern take on the classic tip. Something about the blushy nude base with milky pink tips and tiny star bursts feels sweet but fresh—not your usual French. I first tried this when I was craving a fun challenge for long press-ons and wanted a cute but subtle design for spring. It ended up being one of my all-time favorites, especially for showing off dainty nail art and experimenting with color combos that look more complicated than they are.
Painting the smile lines and planning the color pattern for the stars always gets me in the creative zone. The first time I wore this look, I spent the whole week admiring my hands and honestly got so many questions about whether they were salon acrylics (they are not).
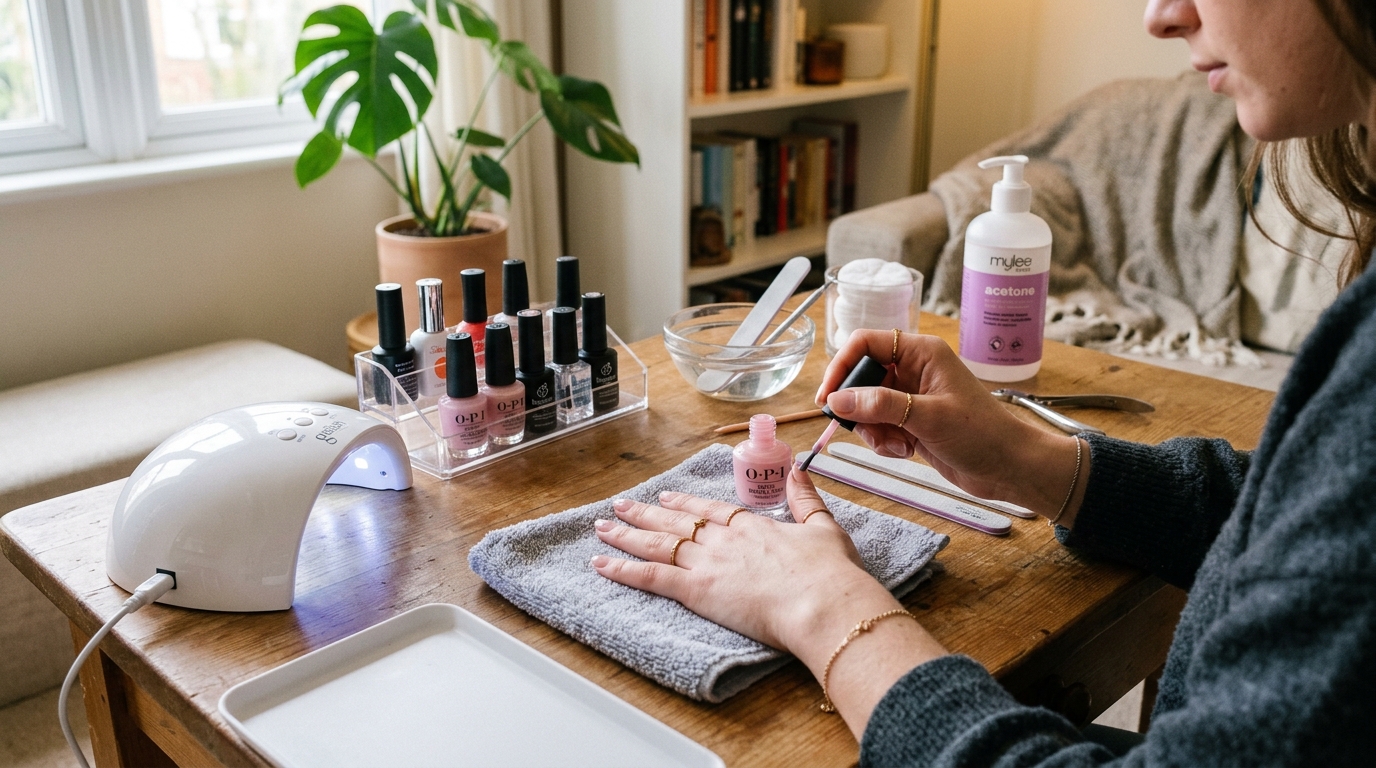
Materials and Tools You'll Need
- Extra-long, softly pointed or tapered almond full-cover nail tips: Perfect for creating an elegant base that's easy to decorate.
- Opaque nude blush-pink polish for the base: Ensure you have enough for one to two coats per tip; smooth, streak-free formulas work best.
- Milky pale pink polish for the French tips: Pick a noticeably lighter shade than your nude base for that fresh contrast.
- Thin multicolored pastel star decals or stickers in mini and small sizes: The more color options, the more custom your look can be.
- Optional subtle silver star decals: Add a pop for special occasions.
- Gray or muted charcoal nail art polish for outlining and mini dots: Helps the design feel balanced and modern.
- Clear base coat: Great for prepping the tips if your brand recommends it.
- Glossy clear top coat: Seals in decals before the matte layer.
- Matte top coat: For the final luxe, velvet finish.
- Strong press-on glue or adhesive tabs: Use your preferred method for attaching tips securely.
- Nourishing cuticle oil: The finishing touch for salon-worthy results.
- Fine nail file: For shaping and blending tip edges.
- Fine liner brush: Essential for crisp smile lines.
- Small detail brush and a tiny dotting tool or pointed stick: For decorating with confidence.
- Precision tweezers: For perfect sticker and decal placement.
- Small mixing palette: Handy for a drop of polish at your fingertips.
- Lint-free wipes and a soft dust brush: Prevent debris from getting trapped under polish.
- Small dish with water and scissors: If using water-slide decals instead of stickers.
 Pin
Pin
How to Make It Step by Step
- Prepping the Tips:
- Fit each full-cover tip to your nails and do a little shaping to get that soft almond point. Mount the tips securely on stands so you can work on both hands at once and avoid touching up smudges later.
- Painting the Bases:
- Start by painting the entire tip with the nude pink polish as your background. Build smooth, even coverage in one to two thin coats and let them dry completely.
- Designing the French:
- Use your liner brush and pale pink polish to sketch out the deep curve for the French tips. I always map one line at a time, double-checking that the arcs on all ten tips look balanced before filling them in.
- Adding the Stars:
- Once tips are dry, plan out your star placement. Layer in the multicolored decals or stickers, keeping most of them inside the pink French area and using tweezers to space them evenly.
- Dot and Detail Work:
- Use a very fine dotting tool with gray polish to scatter miniature dots between stars. This step gives depth but should stay subtle so the stars remain the focus.
- Finishing and Applying:
- Seal everything with glossy top coat to hold the decals, then finish with a matte top coat for that soft powdery look. Let the tips fully dry before pressing them onto your natural nails. The final touch is always cuticle oil to keep everything looking fresh.
 Pin
Pin
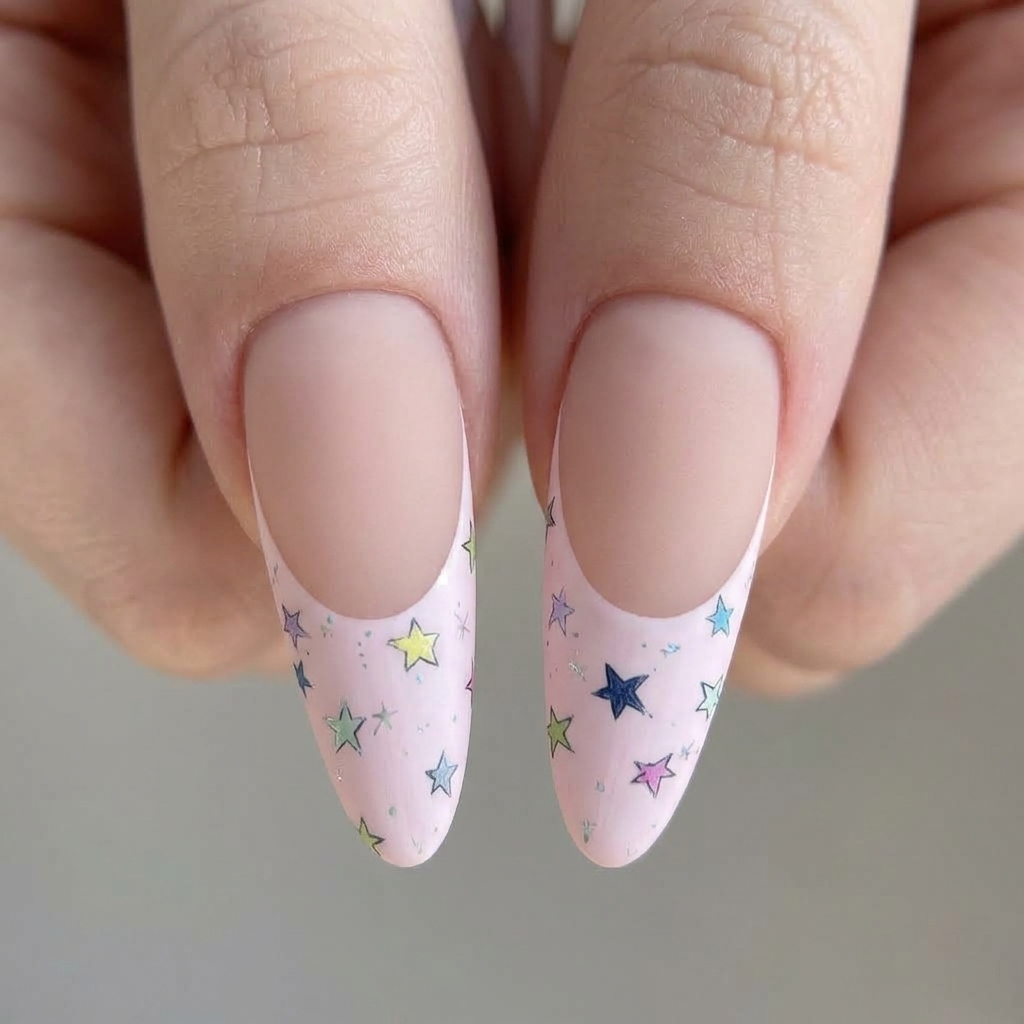
Whenever I reach the final matte top coat, everything comes together like magic. I love laying out all the finished tips and seeing how each little star pops against that soft background. The moment when the matte finish turns glossy polish into dreamy velvet is so satisfying and feels totally worth the effort.
Polish Substitution Guide
This look is so adaptable to whatever polishes and pastels you already have. Any soft nude works for the base—sheer pink, peachy beige, or even a pale taupe if you want a cool twist. For the tips, any light baby pink or milky pastel will be perfect as long as it contrasts gently with your base polish. Star decals can be swapped for freehand painted stars if you have the right polishes and a steady hand. I sometimes use a matte gel top coat for extra staying power, especially on press-ons that need to last a week or more.
Customization Ideas
You get endless room to make this design your own. Try switching to a sky-blue or lilac French tip for a bolder take, or upgrade to metallic stars for party vibes. Sometimes I even add a single tiny rhinestone at the tip center as a chic accent. If you want a more minimalist look, just use two stars on the accent nails and skip the dots. Different nail shapes (like coffin or round) will completely shift the overall effect.
Common Mistakes to Avoid
It is easy to use polish coats that are too thick—this slows down drying and makes stickers shift. Do not crowd your stars together or you lose the airy, delicate vibe. Take your time shaping every smile line before painting, and check symmetry between hands. One pitfall I learned the hard way: rushing the top coats over the decals can pull up the edges. Take a gentle approach and you will have way fewer touch-ups.
 Pin
Pin
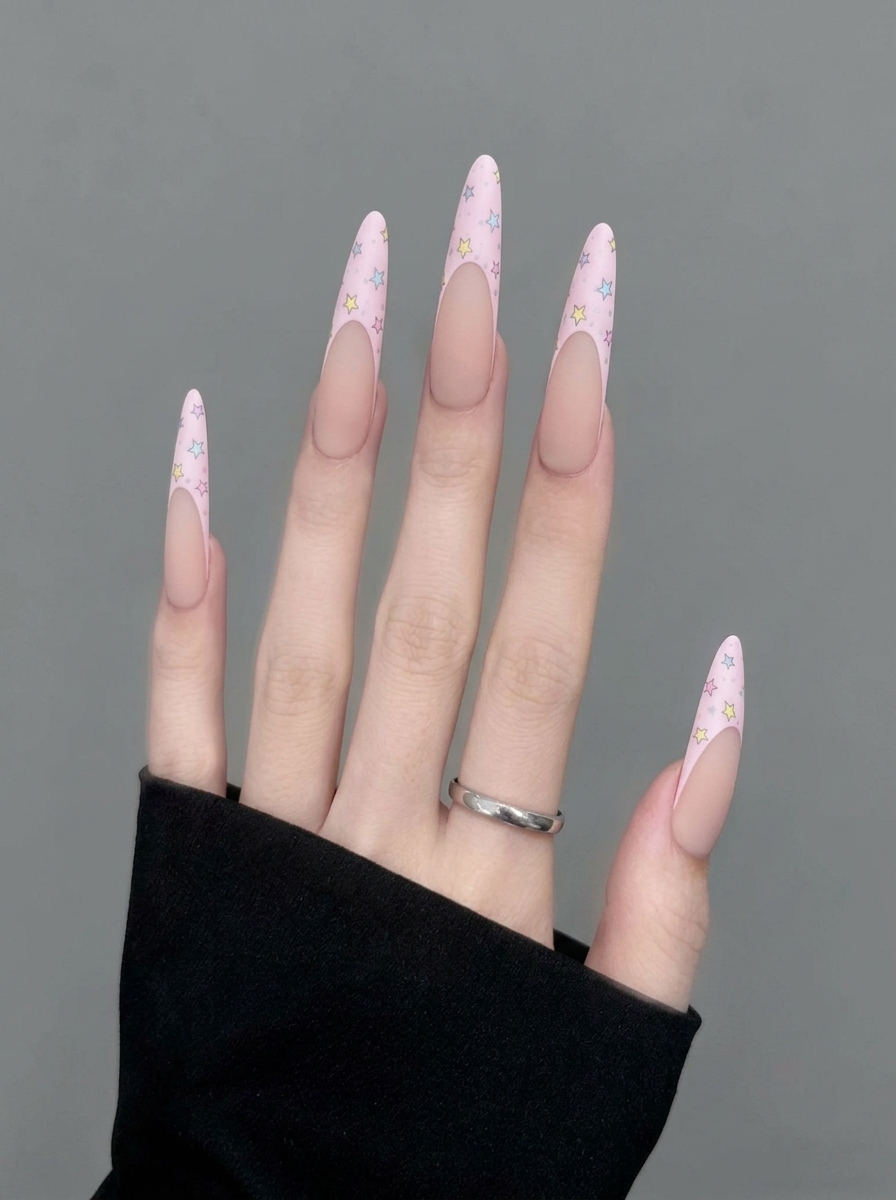
I love how these nails strike the perfect balance between playful and grown-up, and I could talk about pastel combos for hours. Every time you try this design, you discover new tricks for even star placement or cleaner French curves. If you try your own version, please tag your photos—I always get inspired seeing everyone’s little twists on the pastel star theme.
Design Questions
- → What skill level is this design?
This design is suitable for intermediate nail artists due to detailed French tips and precise decal placement.
- → What polish or product alternatives work?
You can use gel polish or pastel acrylics. Paint stars by hand if stickers/decals aren't available.
- → How long does this nail art last?
On press-on tips, wear lasts 1-2 weeks. With gel base/top coat, wear time may increase to 2-3 weeks.
- → How long does it take to apply?
This manicure takes about 1.5-2 hours, including shaping, painting, decal application, and finishing steps.
- → Can I modify this technique for short nails?
Yes, adapt to shorter almond or oval tips. Use smaller stars and simplify French tip curves as needed.