
 Pin
Pin
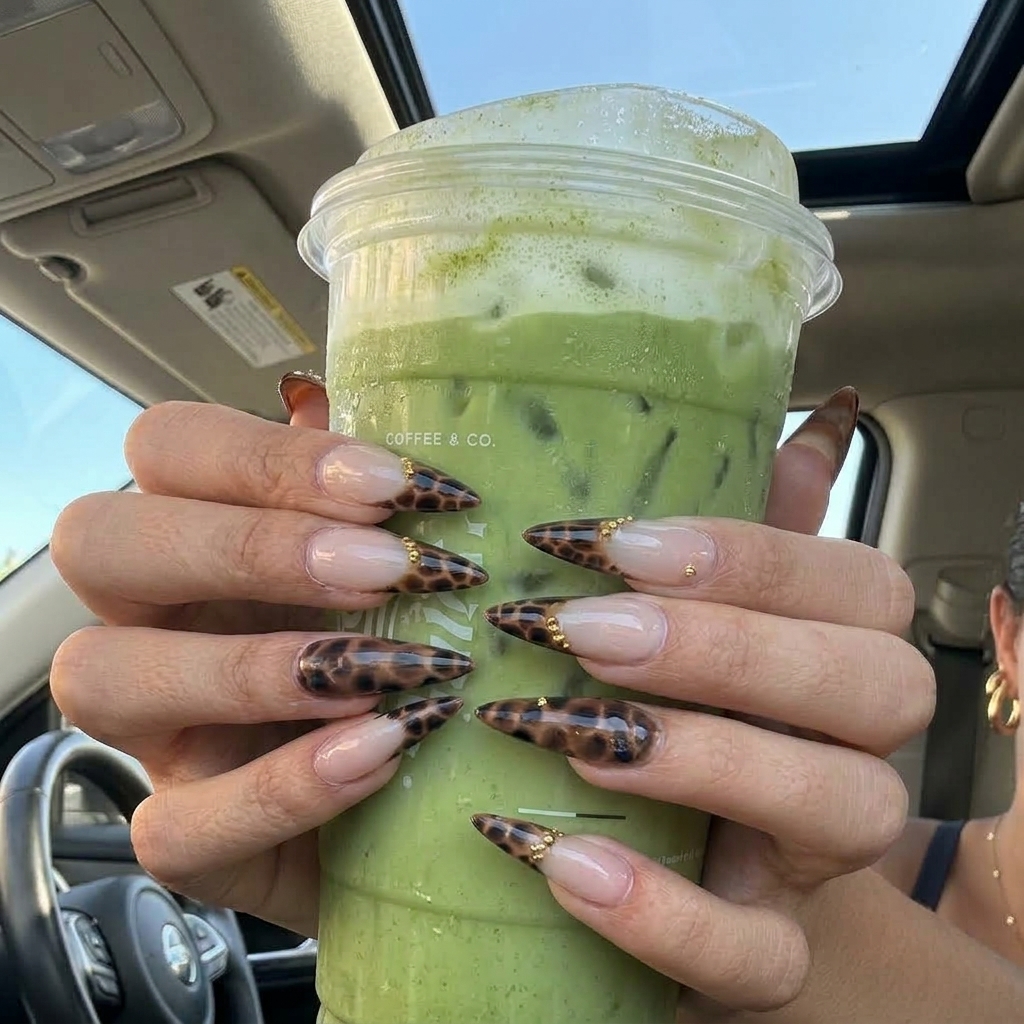
There is something so lux about the golden leopard French look. The combo of glossy nude-pink, deep caramel animal print, and those glimmering gold fringes feels like jewelry for your hands. When I first tried this mani, honestly, I spent more time admiring my hands than usual. Every time the light hit those gold flecks, I caught myself grinning. The best part? You do not need a curing lamp or any pro gear to get these fierce French tips—just some patience and a steady hand.
When I recreated this look, the gold accents brought the whole thing to life. The leopard print felt totally fresh on the French tips and I got several compliments on how expensive it looked.
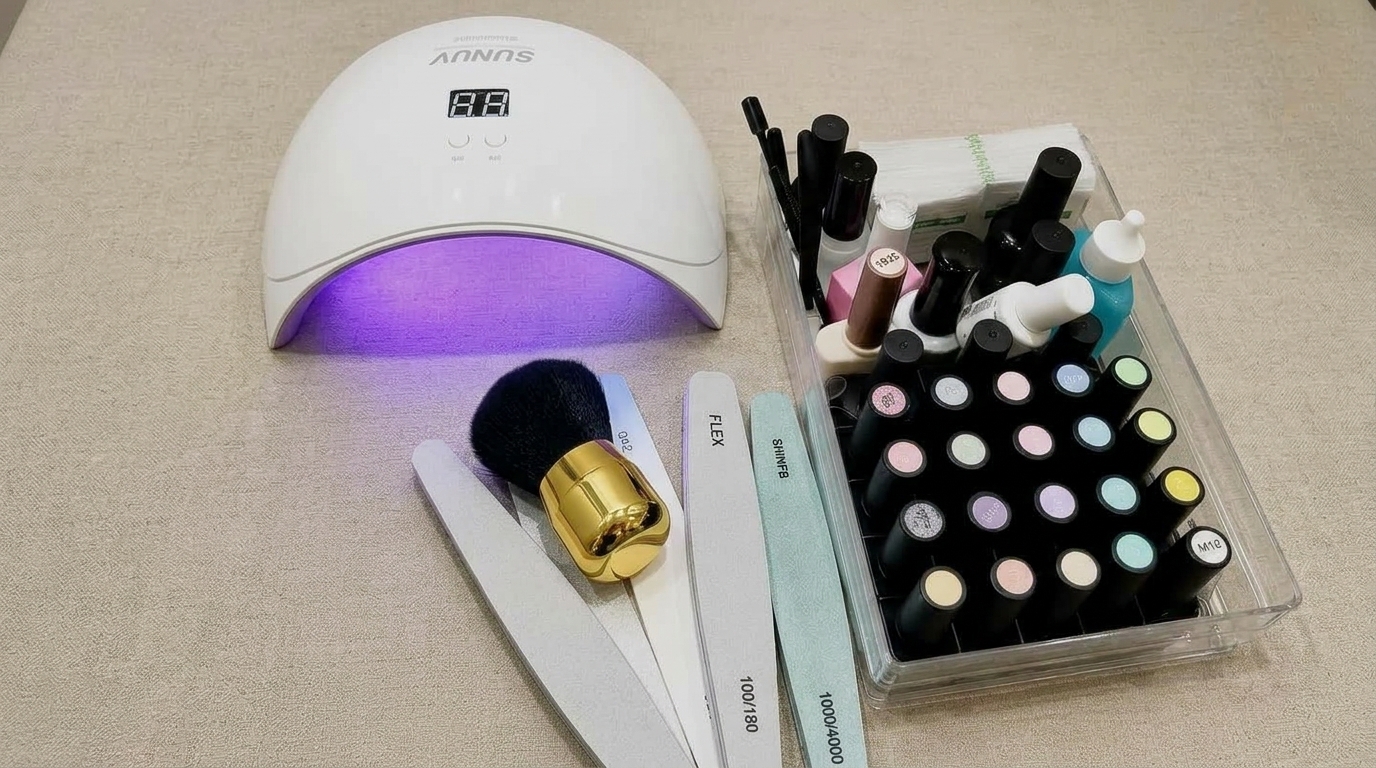
Materials and Tools You'll Need
- Clear base coat: for priming and protecting natural nails
- Sheer nude-pink polish: in a warm blush or beige tone about two thin coats worth
- Caramel or honey-brown polish: preferably with a little translucence
- Medium chocolate-brown polish: for spots in the animal print
- Dark espresso brown polish or black polish: to add depth to the markings
- Metallic gold polish: for small details
- Tiny gold microbeads or gold foil flakes: for the French-tip border
- Air-drying nail art adhesive: if you use beads or foil
- Glossy clear top coat: for shine and protection
- Nail polish remover and lint-free pads: for cleaning edges
- Cuticle oil: for finishing touch
- Optional almond or stiletto full-cover nail tips and tip adhesive: for added length
- Fine nail file:
- Wooden cuticle stick:
- Fine liner brush and small detail brush: for painting patterns
- Small dotting tool: for animal spots
- Flat cleanup brush: for clean edges
- Tweezers or wax pencil: for handling tiny gold decorations
- Small palette or foil square: for mixing polish
- Dust brush:
When picking polishes, look for one-stroke coverage and a brush that feels comfortable to maneuver. My tip for the gold—true metallic gold polish pops way more than sparkly or glittery formulas.
 Pin
Pin
How to Make It Step by Step
- Prepping the Nail:
- Remove any old polish and cleanse hands. Gently push back cuticles with a stick and file nails to your chosen almond shape. If using tips, glue them on and smooth the blending edge. Always dust off well before painting.
- Creating the Base:
- Apply a thin clear base coat from cuticle to tip and let it set. On all nails except the ring finger, add one or two sheer layers of nude-pink polish, waiting for each to dry. The nude base should look soft and see-through.
- Coloring the Accent Nail:
- Paint the whole ring finger with your caramel or honey brown shade. A second layer may be needed for an even, warm amber look. This all-over print becomes your statement nail.
- Building the French Tips:
- With a liner brush and caramel polish, outline a curved French tip across each remaining nail. Fill in from the smile line out to the tip, keeping the boundary clean and the tip pointed.
- Leopard Print Detailing:
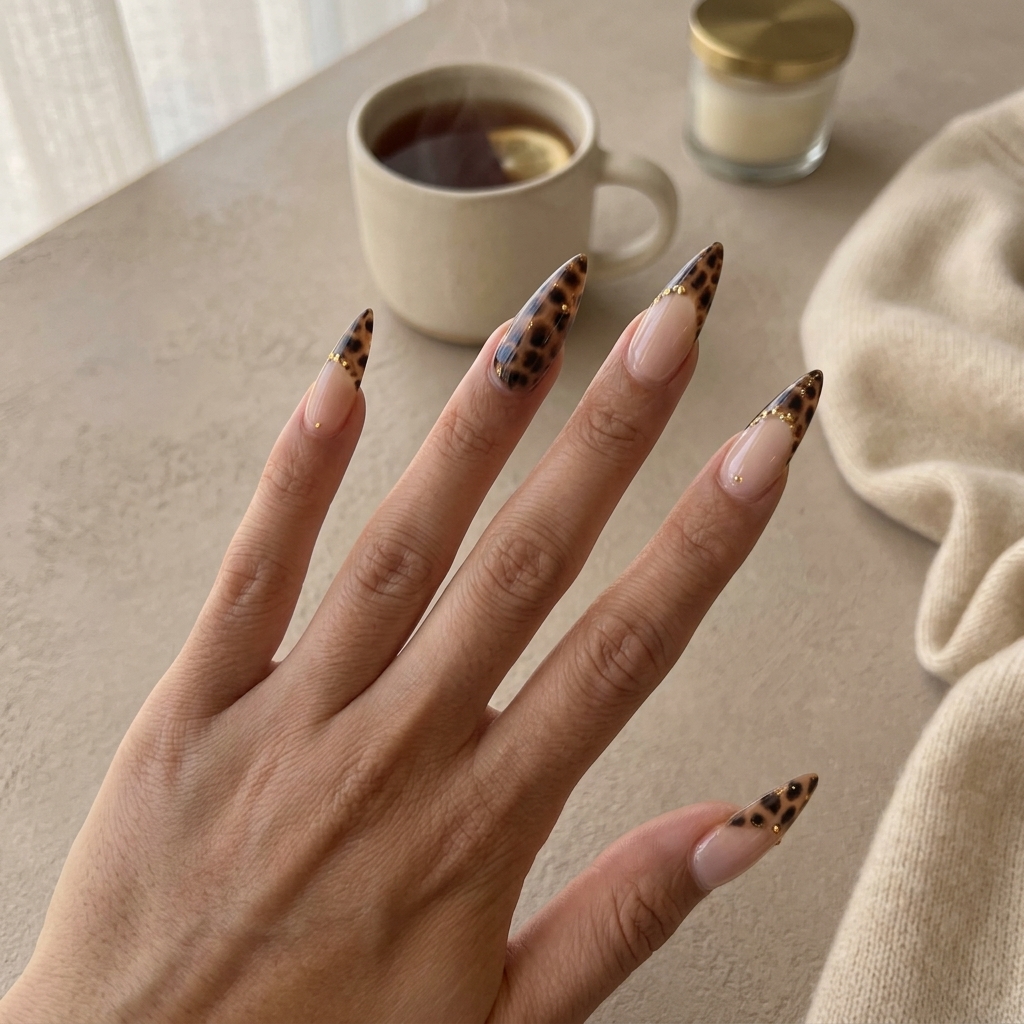
- Drop a little chocolate-brown on your palette. Using the detail brush or dotting tool, create scattered splotches along the French tips and ring nail. Surround some patches with broken outlines in espresso brown (and black if needed), switching up your motions for a real leopard vibe.
- Gold Edges and Accents:
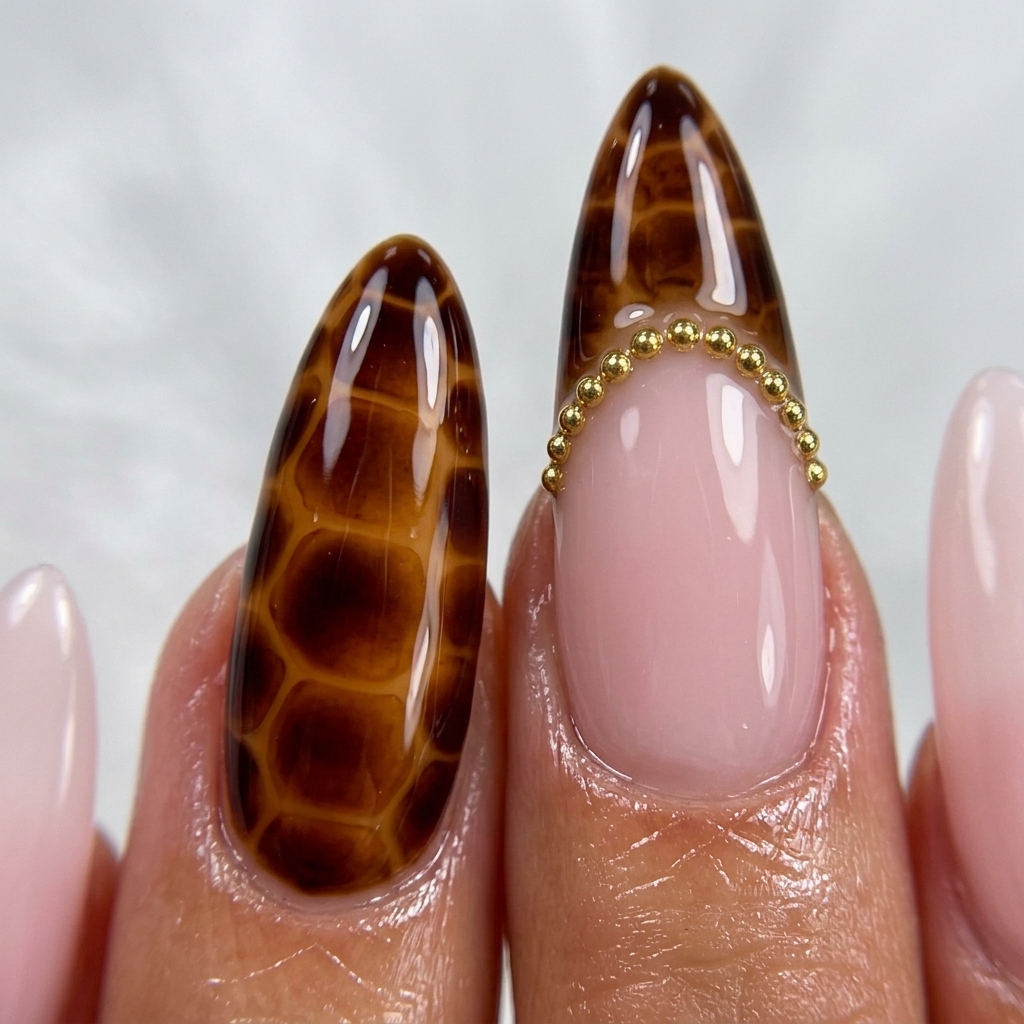
- Trace the gold accent border along the smile lines with tiny dabs or foil fragments. Place mini gold dots randomly on parts of the nude and through the ring nail print. Keep the gold subtle but noticeable.
- Final Clean Up and Top Coat:
- With a cleanup brush, tidy up any stray marks around the nail. Once everything is almost dry, float on a glossy top coat, completely sealing any foils or beads. Always finish with a touch of cuticle oil after the polish is set.
 Pin
Pin
My favorite bit is adding the gold—there is something so satisfying about making those tiny metallic spots glint. Sometimes I will try out a few placements with a dot of water first so I know my accents are balanced before they are permanent.
Polish Substitution Guide
No need to break the bank for five shades. A creative mix of browns from your collection can definitely do the trick, and gold stripers or gold leaf work for the metallic accent. Sheer nudes can be mixed with a bit of clear top coat if you want to sheer out a regular polish. If you cannot find a honey brown, try blending a warm beige and a deep copper to get an amber effect.
Customization Ideas
Switch up the accent nail—a full leopard pattern looks wild on your middle or thumb too. Swap the nude-pink base for a soft beige, or warm up the look with a light peach if your skin tone leans golden. Gold lines can be traded for silver or rose gold depending on your jewelry vibe. Highlight the spots with a dash of subtly iridescent shimmer polish if you want more sparkle.
Common Mistakes to Avoid
Do not rush between layers. If the base is not fully dry, polish can string or smudge when adding tips and art. When doing the gold edging, patience is key—too much product makes that crisp dotted line look messy. Try practicing the smile line on a swatch stick or paper first if you are new to French tips.
 Pin
Pin
Watching my animal print get better with each mani kept me motivated. There is a sweet spot between neat and random for leopard spots that just takes a few tries to get right.
Design Questions
- → What skill level is this design?
This design is suitable for beginners to intermediate artists. Steady hands help, but no advanced techniques are required.
- → Can I use gel polish instead of regular polish?
Yes, gel polish can be used for each step if you prefer longer wear and have a curing lamp available.
- → How long will this nail art last?
With a quality top coat, expect 7–10 days of wear on natural nails; even longer if applied to gel or tips.
- → How much time does this look take to apply?
Allow 50–90 minutes total for shaping, painting, patterning, and drying. Extra time is needed for details and accents.
- → Can I modify the leopard pattern or gold accents?
Absolutely! Try varied spot sizes, use silver or rose-gold accents, or switch the pattern to different nails as you like.