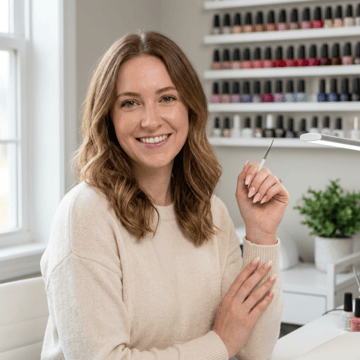
How Freehand Nail Art Became My Favorite Hobby
I painted my first flower design at fifteen with a cheap dotting tool from the drugstore, at a sleepover where I ended up doing everyone's nails until well past midnight. The petals were different sizes and the centers were a little off, but my friends wore them to school the next day and asked me to do it again. That night is when freehand nail art turned from something I watched online into something I did every week. Since then I have created hundreds of
free nail art designs, from tiny accent nails to full hand-painted sets, and I still start most of them with that same simple dot.
Mastering Clean Lines, Gradients and Negative Space
Most of what I know about clean nail art came from practicing the same few techniques over and over. I painted
French manicure smile lines until my hand stopped shaking, and I learned that a thin detail brush only works well when it carries just enough polish to glide without flooding. I figured out sponge gradients by testing different sponges and dabbing pressures, and I learned negative space placement by leaving too much bare nail and then too little. Along the way I started writing every step down in plain language, including how much polish to load, when to clean the brush and how to fix a wobbly line before it sets.
Designs That Fit Real Hands and Real Schedules
Today I design nail art for real hands, not just perfect photos. Every tutorial I publish is painted twice, once to develop the look and once straight from my written steps, so nothing important gets left out. I list the exact shades and brush sizes, give an honest time estimate, and explain how to adjust the design for your own nail length. If you are not sure which base works best, my
nail shapes guide shows how the same design changes on almond, square or oval nails. My goal is simple: a manicure you can recreate at home and feel proud to wear.