
 Pin
Pin
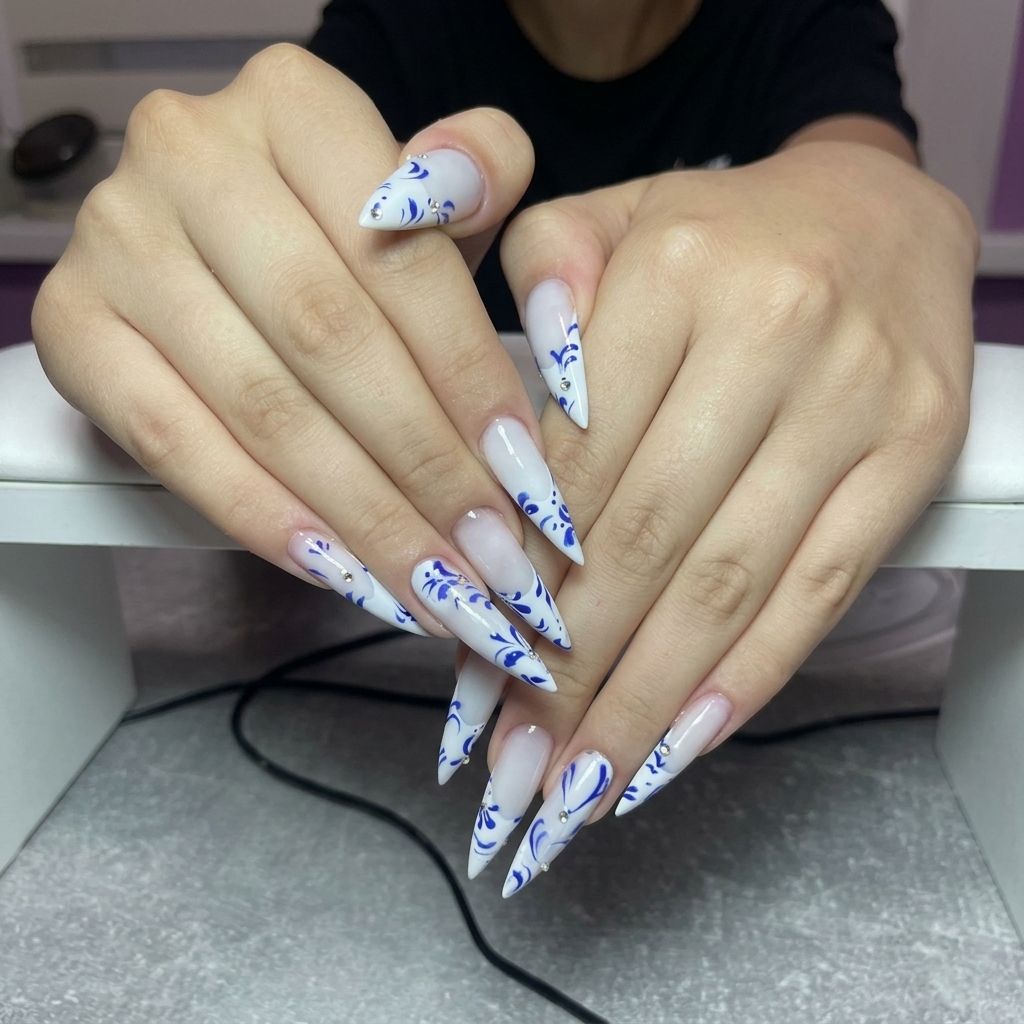
The minute I finished my first set of blue porcelain stiletto nails, I knew this becoming my go-to statement mani for special occasions. The extra-long tips with soft gradients and hand-painted cobalt florals turn every gesture into an instant mood boost. My love for vintage china inspired this design, but the high-shine, ultra crisp blue details make it look anything but old-fashioned. Painting varied blooms and curly stems across such long nails gave me total creative freedom—every nail really feels like a tiny unique canvas.
Honestly, I loved how working on the design before application meant zero mess on my cuticles. The process felt creative and relaxed—no need to rush before polish starts running.
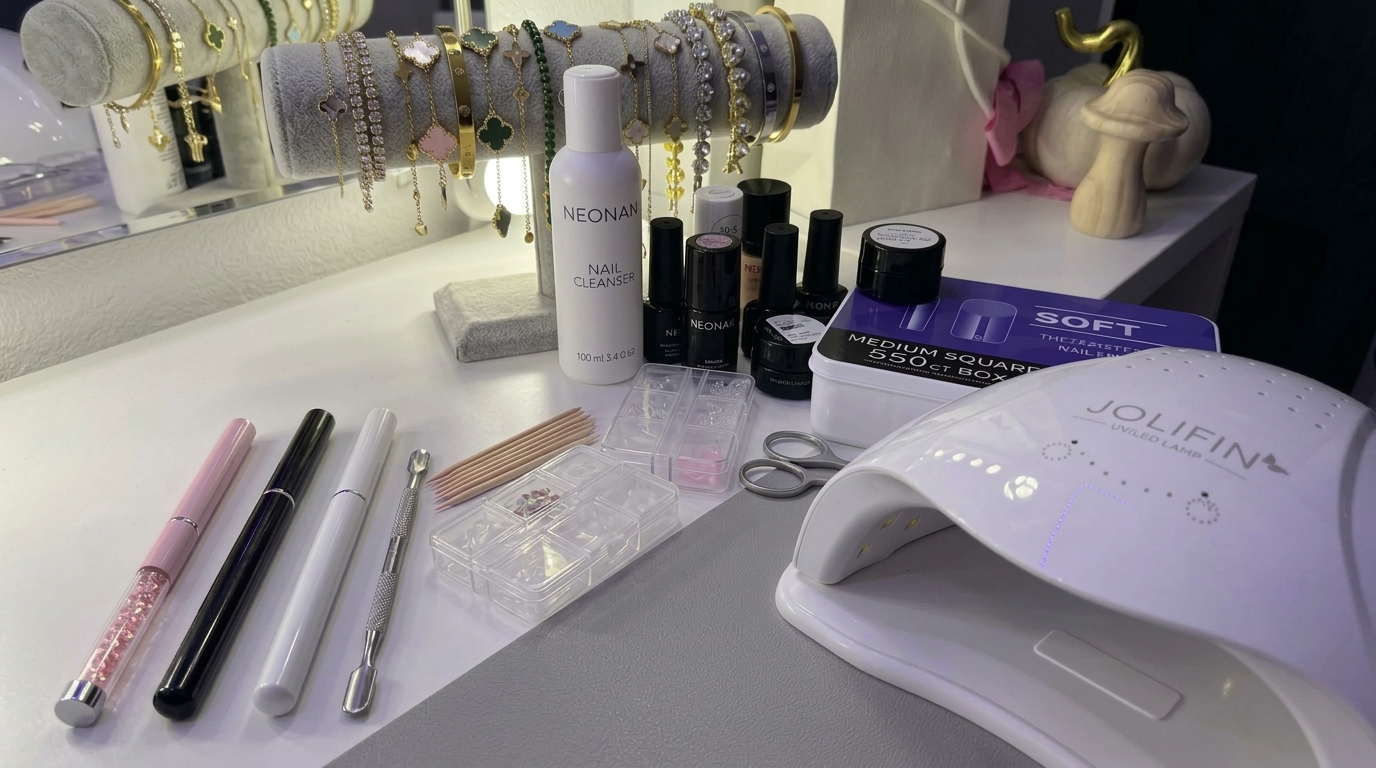
Materials and Tools You'll Need
- Extra-long stiletto full-cover tips: sized to each nail
- Nail stands with mounting putty: for clean application and easy handling
- Sheer milky-pink or pink-nude nail polish: for a delicate base
- Milky white polish: for soft blending at the tips
- Opaque white polish: to boost coverage on chosen nails
- Cobalt or royal-blue nail-art polish with strong pigmentation: for bold florals
- Small clear rhinestones and optional tiny silver nail beads: for added sparkle
- Fine liner brush and small pointed detail brush: for stems leaves and petals
- Small dotting tool: for dots and flower centers
- Fine cosmetic sponge: for gentle color transitions
- Glossy clear top coat: to lock in shine and protect art
- Press-on glue or adhesive tabs: for applying finished tips
- Lush cuticle oil: to nourish after application
 Pin
Pin
How to Make It Step by Step
- Prepping and Sizing the Tips:
- Begin your manicure by selecting full-cover stiletto tips that fit each finger without any pressure at the sides. Use a nail file to refine them into extra-lengthy clean points. This is your chance to get that iconic elongated look—perfect symmetry here makes the whole design pop.
- Creating the Porcelain Base:
- Mount each tip to a stand for stability. Brush on your sheer milky-pink color for a translucent background, building up coverage softly. Use a cosmetic sponge to lightly blend milky white polish from the tip toward the middle for a seamless ombre effect. Balance accent nails with a bit more white to enhance your floral canvas.
- Designing the Blue Florals:
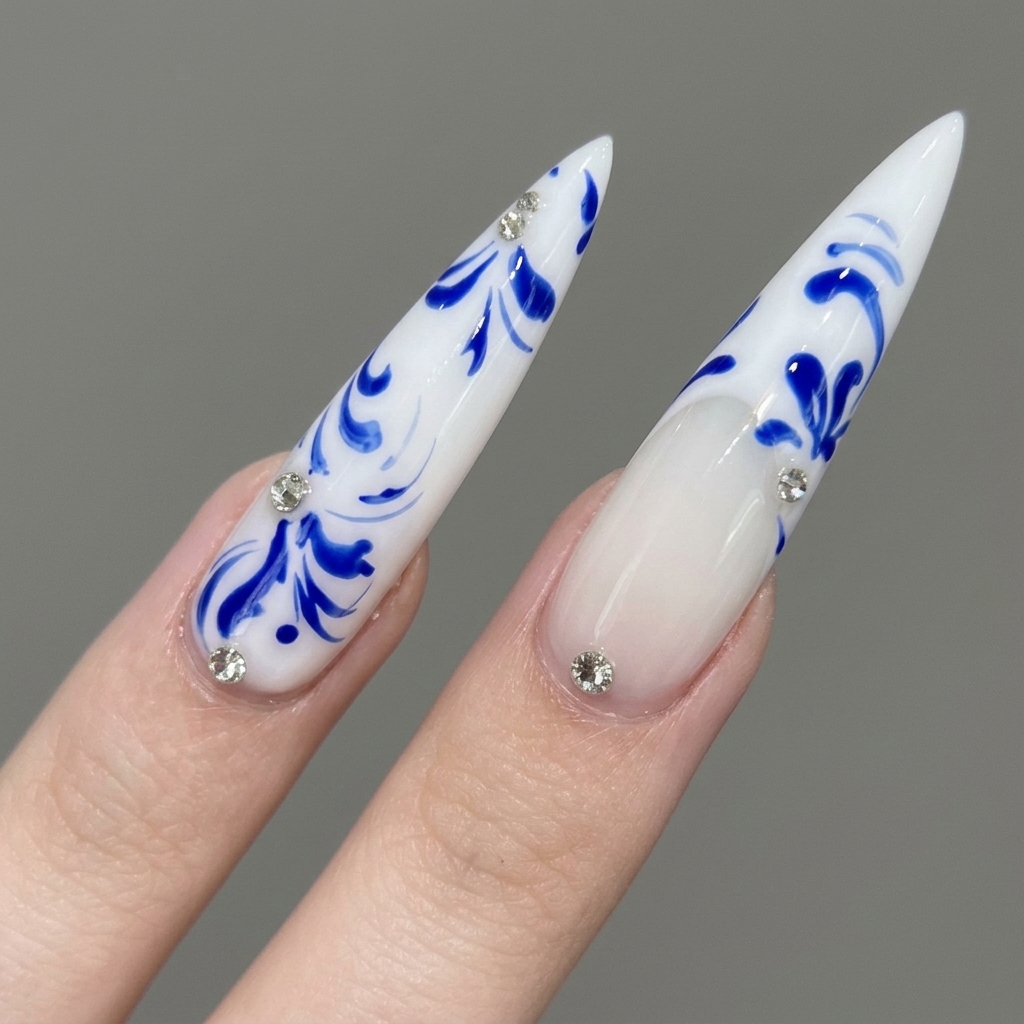
- Once the base is fully dry, use a fine liner brush loaded with vivid blue polish to sketch out curved stems and vine-like lines. Switch to a pointed detail brush to create tapered leaves and dreamy scattered petals. Varying the pattern placement makes each nail feel like a one-of-a-kind tile—think loose, organic, and not too uniform.
- Adding Details:
- Fill in the florals with a few smaller petals and tiny blue dots for polish contrast. Attach small rhinestones to the center of chosen flowers for a subtle gemlike effect. When placing rhinestones, use just a dab of adhesive so they settle into the artwork without sticking up too much.
- Finishing Touches and Attachment:
- Seal your artwork gently with a glossy top coat. Allow extra time for everything to dry so the polish sets hard and the blue stays crisp. When you are ready, remove each tip from the stand and attach to your natural nails with press-on glue or adhesive tabs. Finish up with a sweep of nourishing cuticle oil.
 Pin
Pin
My favorite part of this mani is painting all those twisty blue vines and petals. Each nail turns out slightly different and it always surprises me how the look comes together as a set. Getting lost in the hand-painting is honestly the most calming part of my day.
Polish Substitution Guide
If you do not have milky pink or white polishes, you can mix a drop of opaque color with clear top coat to get a similar effect. A royal blue gel polish is perfect for the floral details if you want extra sharp look or longer wear. Rhinestones can be swapped for tiny pearls or even dots of silver polish if you want a no-bling option.
Customization Ideas
There are endless ways to put your own spin on this design. Try shorter ballerina or almond tips for everyday wear. Replace blue florals with different accent colors like rose or emerald for a new vintage twist. Switch up the position of accent nails, add more negative space, or go big with scattered tiny pearls for a luxe twist on the porcelain style.
Common Mistakes to Avoid
Rushing between steps is a quick road to smudges and uneven lines. Always let your polish air dry fully especially before adding any detailed work or sealing. Using too much polish on your detail brush can lead to thick muddy strokes—less is always more for these filigree lines.
 Pin
Pin
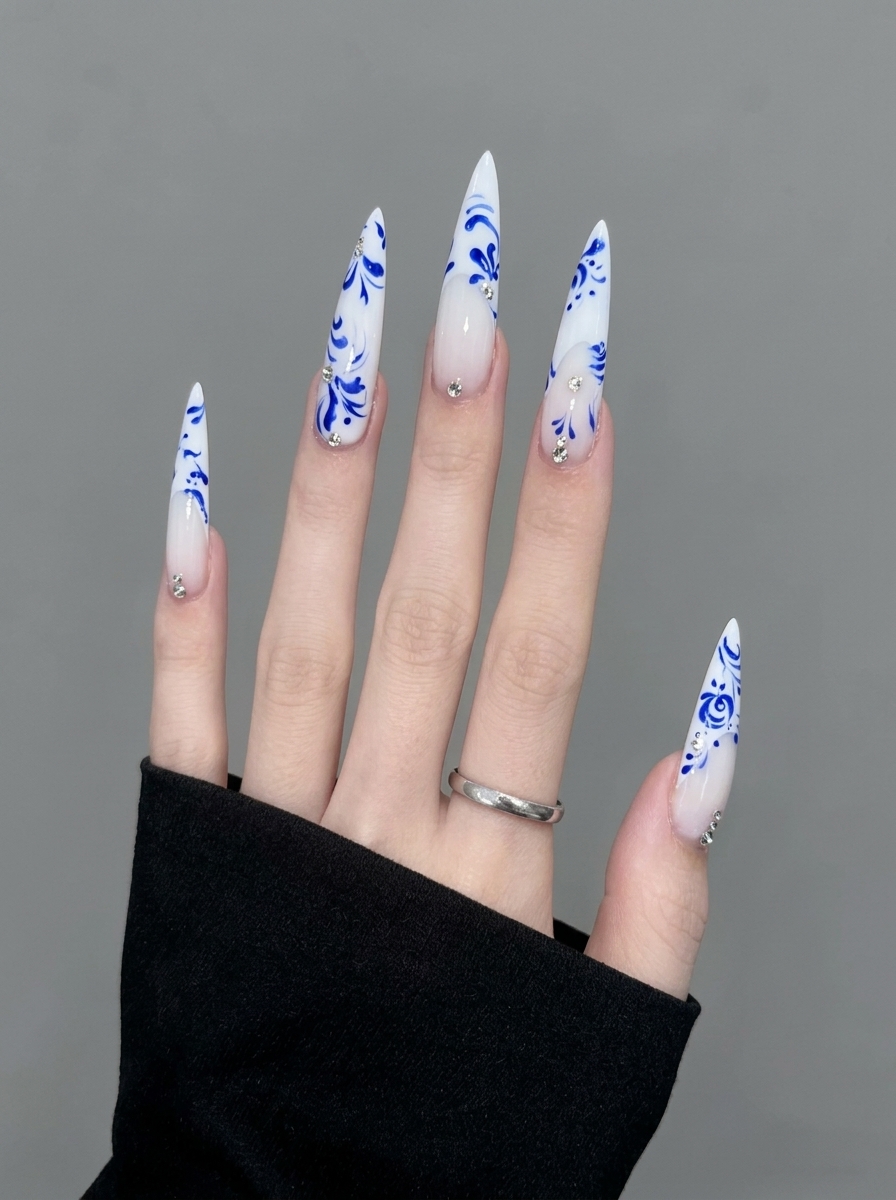
Trust me—once you try this blue porcelain design, you will want to take photos at every angle. It is that rare look that feels both playful and sophisticated right to the tips of your fingers.
Design Questions
- → What skill level is this design?
This design is suitable for intermediate nail artists comfortable with hand-painted details and using nail tips.
- → Can I use gel polish instead of regular polish?
Yes, you can substitute gel polish for longer wear and easier blending. Cure each layer as needed before continuing.
- → How long does the blue porcelain manicure last?
When applied to full-cover tips and worn as press-ons, the set typically lasts 1–2 weeks with proper care.
- → How much time does this look take to complete?
Plan for 90–120 minutes for painting, drying, detailed art, and rhinestone application before attachment.
- → How can I adjust the floral pattern?
You can vary stem shapes, use other blue tones, or cluster flowers differently for a custom porcelain effect.