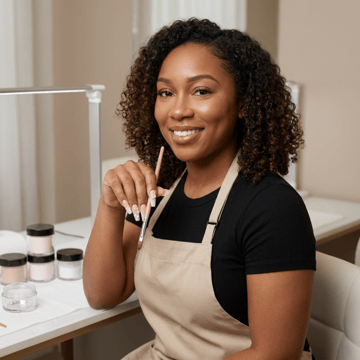
From My First Salon Set to My Own Nail Station
My love for acrylics started with the set I got for my senior prom: long, glossy and nothing like my short natural nails. I spent the whole night looking at my hands, and a week later I bought a beginner acrylic kit. My first attempts were lumpy, thick at the cuticle and lifting within days, but I kept practicing on plastic tips at my kitchen table. Those early mistakes taught me the basics that shape every tutorial I write today. Now I share
acrylic nail designs that look salon-made but are built for people doing their own sets at home.
Getting the Ratio, Apex and Shape Right
Strong acrylic nails come down to a few details most beginners skip. I learned that the bead should be moist but not runny, that proper prep and a thin layer near the cuticle are the biggest defense against lifting, and that a well-placed apex is what stops long nails from snapping. Filing was its own lesson: a clean coffin or almond shape takes patience, symmetry and checking each nail from every angle. My
coffin and almond nail shapes guides walk through that filing process step by step, so your set looks balanced before you add any design.
Bold Acrylic Sets Built to Last
These days I focus on acrylic looks that are both eye-catching and wearable, from soft ombre sets to 3D flowers and statement accent nails. Classic
French acrylic tips are still one of my most requested designs, and I show how to build the white tip with powder for a crisp, even smile line. Every tutorial includes a full product list and realistic timing. I also care about what happens after the set comes off, so I always explain safe removal and point readers to a good
nail care routine to keep natural nails healthy between sets.