 Pin
Pin
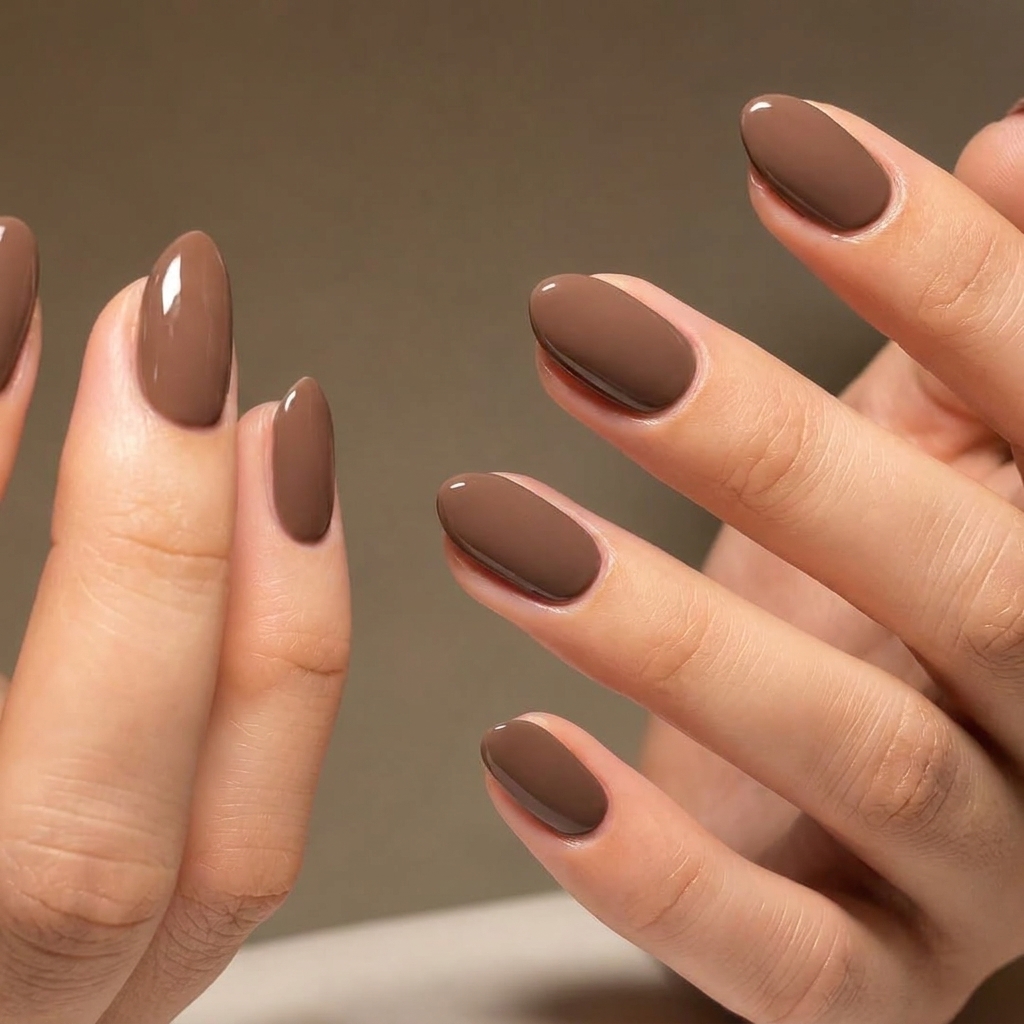
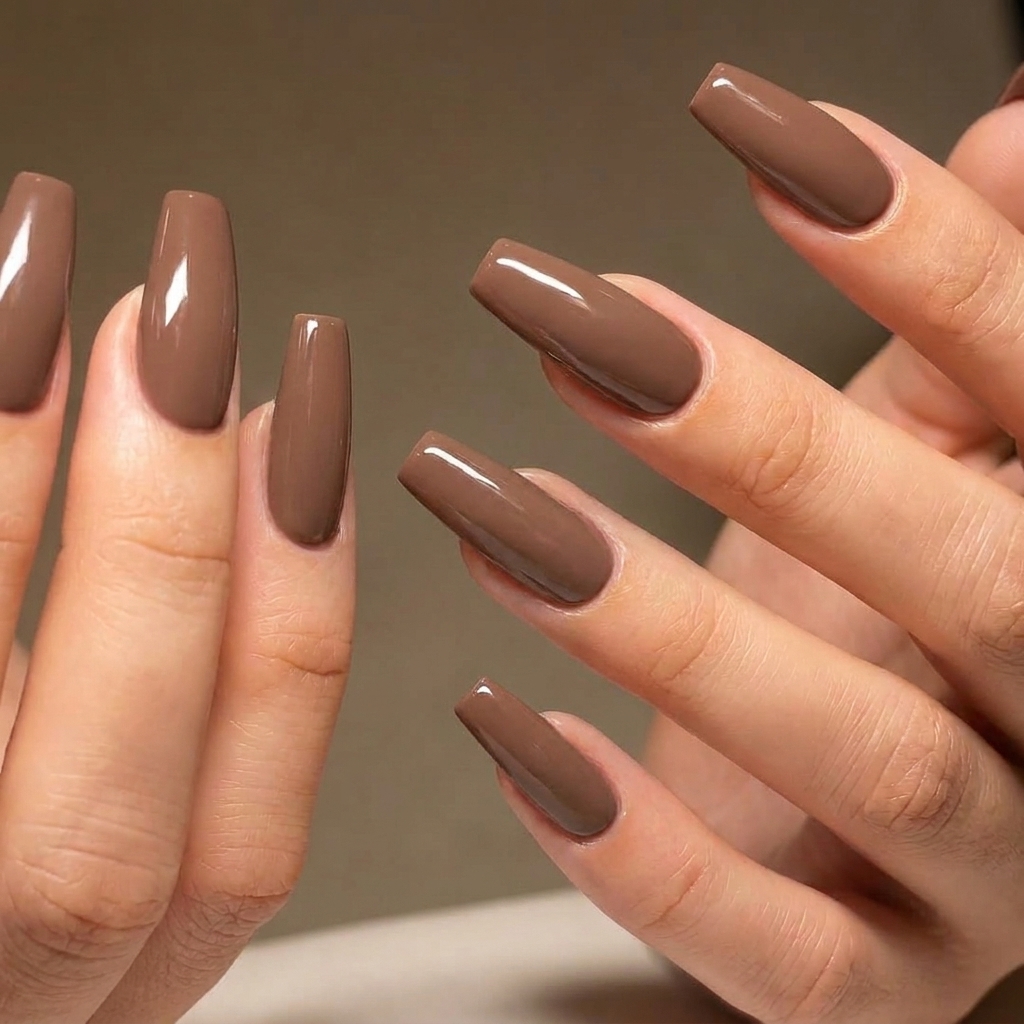
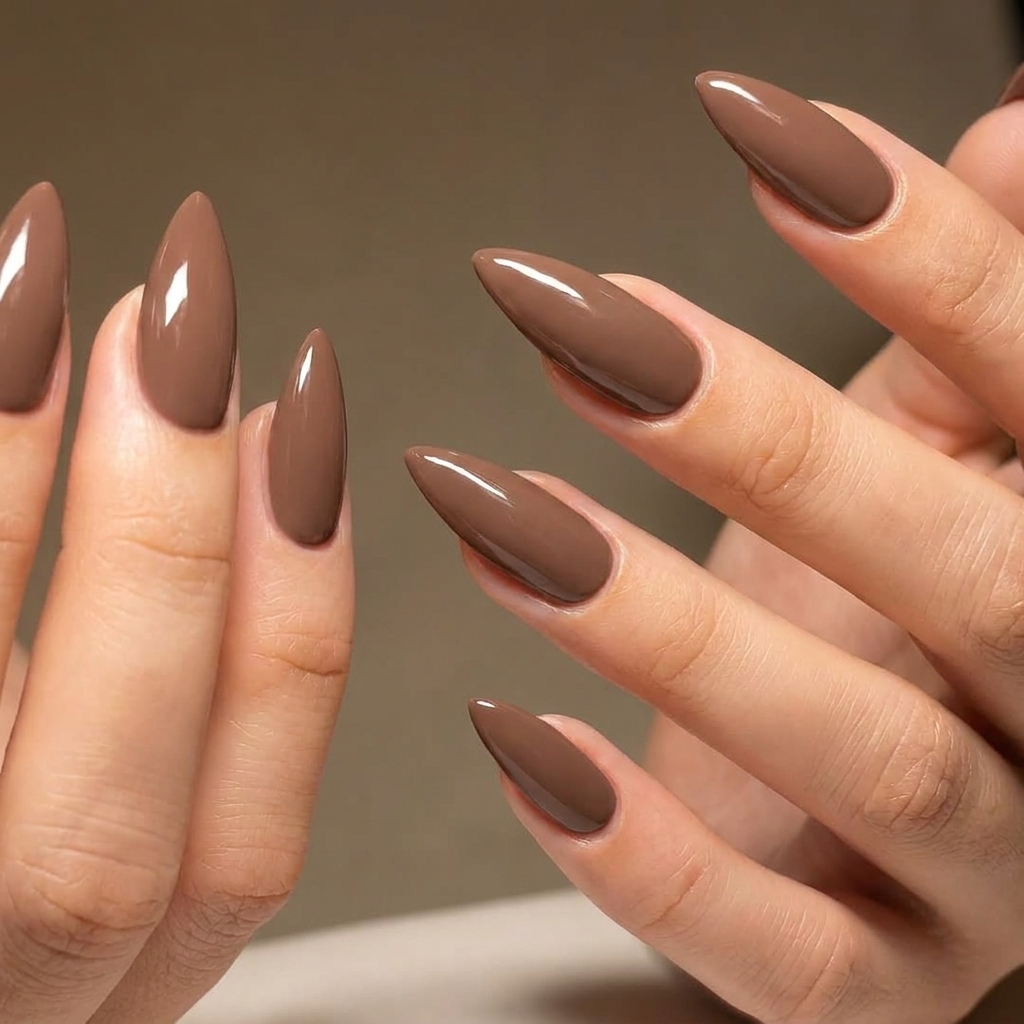
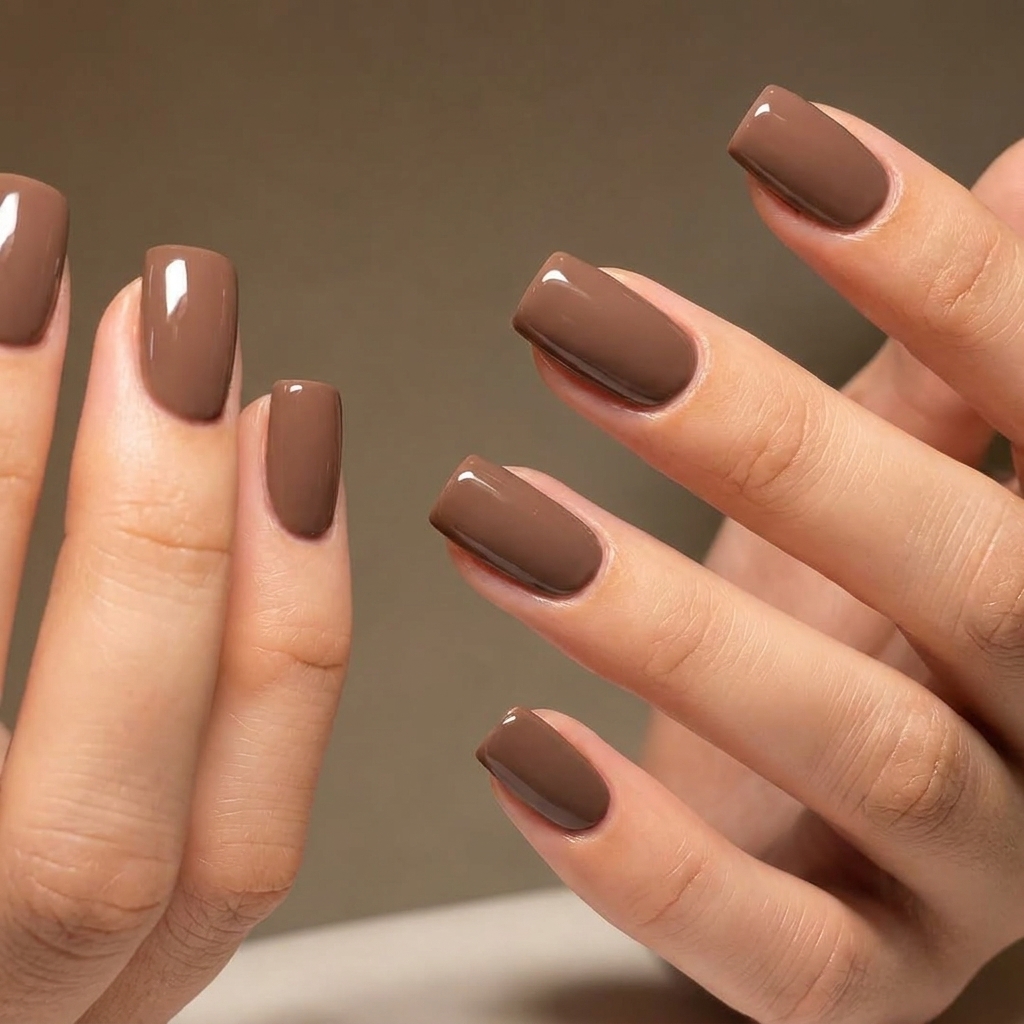
There is something so crisp and satisfying about a perfectly squared-off nail. I have always loved the powerful, clean-lined look of square nails, especially how they can dress up even the simplest polish. Mastering this shape at home changed my manicure game and now it is my go-to whenever I want instant polish and structure. If you want a strong nail look that feels chic but low-maintenance, square is a great place to start.
I still remember the first time I shaped every nail into a sharp square at home and how professional my hands looked. Now I do it in under thirty minutes.
Materials and Tools You'll Need
- Fine-grit nail file (around 240 grit): Perfect for shaping natural nails, gentle and precise
- Nail clippers: Trim down extra length before shaping
- Nail polish remover (acetone or non-acetone): Use based on your polish formula
- Lint-free pads: Avoids fibers on the nail plate
- Soft nail brush: Great for sweeping away dust after shaping
- Wooden manicure stick (optional): Useful for nudging back cuticles
- High-quality clear base coat: Prepares the nail surface
- Preferred nail polish (nude, pink, white or bold color): Usually two to three coats
- Glossy top coat: Locks in shine and wear
- Cuticle oil: Hydrates after finishing
- Lightweight hand cream: Keeps skin healthy
When selecting your file make sure it is gentle enough for natural nails and avoid metal files which can cause splits.
 Pin
Pin
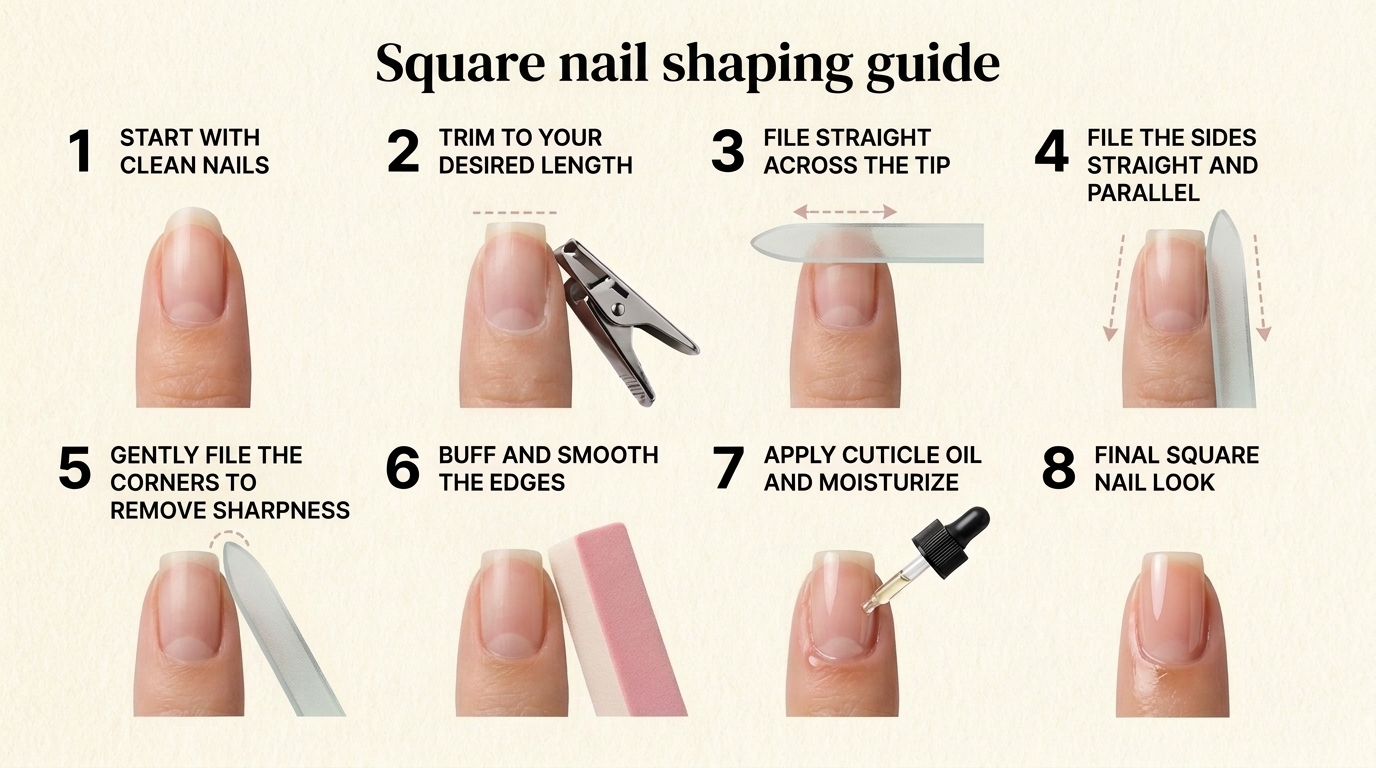
How to Make It Step by Step
- Prepping the Nail:
- Begin by removing any old polish and washing your hands. Dry completely and gently push back cuticles if needed. Starting with clean dry nails lets you see your true nail shape and makes shaping more accurate.
- Setting the Shape:
- Evaluate your current length and nail outline. If starting from a rounded or pointed tip you may want to trim down to where the nail appears widest. The key to square nails is preserving both corners so do not overclip or file the sides.
- Filing Straight Across:
- Place your file so it sits flat and perpendicular to the direction of the nail. File gently in one direction to keep the free edge flat. Regularly check both corners to ensure they are even and do not over-round them.
- Perfecting the Corners and Sides:
- Refine the sidewalls very lightly to remove snags but avoid angling the file toward the tip. You want to keep the sides as straight as possible for that squared look. Just a tiny softening on the very corner prevents snagging while keeping the shape visible.
- Finishing Touches:
- After shaping use a soft brush to sweep away dust and check each nail for smoothness. Apply your base coat color and top coat finishing with cuticle oil once dry for both comfort and that glossy magazine shine.
 Pin
Pin
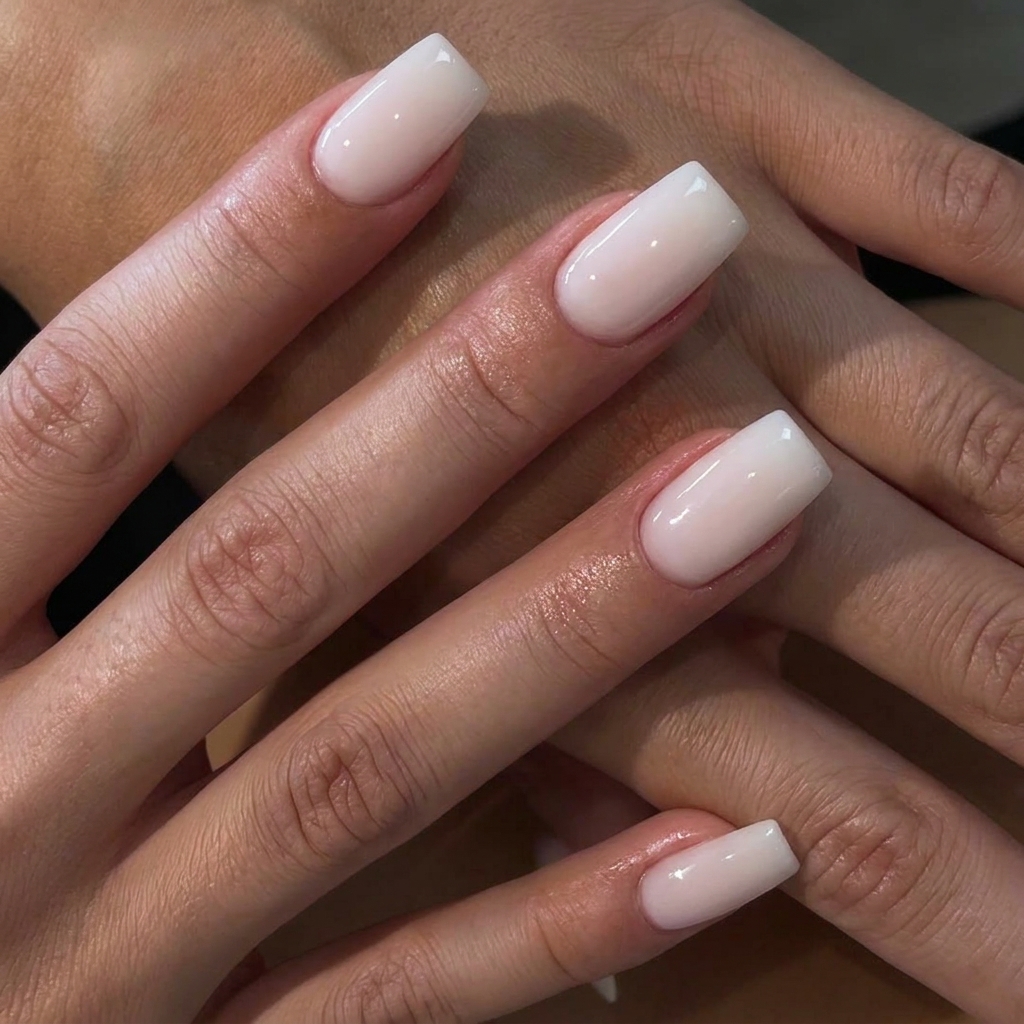
My favorite part of shaping square nails is that reveal moment after topcoat when the clean geometric tips reflect the light. It always feels like a mini transformation. Even on short natural nails the square shape holds up really well and makes polish pop.
Polish Substitution Guide
You are not tied to any single polish for this look. I often swap between creamy nudes for a workday or bright white for that French crispness. If you are low on your favorite base try a ridge-filling formula for even more definition in the square shape. For top coat, choose one that dries hard to protect those edges against chips.
Customization Ideas
Add a metallic or glitter stripe across the flat tip for an edgy accent. Stick-on decals line up beautifully along straight edges and make for easy nail art. Try matte top coat on the whole nail with glossy only at the tip for a modern twist. If you want French tips, stick to a flat or only slightly curved line to enhance the squared effect.
Common Mistakes to Avoid
Filing at a downward angle which creates a slanted tip rather than a flat one. Rounding corners too much resulting in a squoval shape. Overfiling the sides causing the square to look tapered or coffin-like. Using a rough file that splits or snags the free edge. Not removing all dust before applying polish can interfere with even coverage. When I first started, I ruined a few sets by not checking from every angle. Now I always do a quick visual check with both hands at arm’s length.
 Pin
Pin
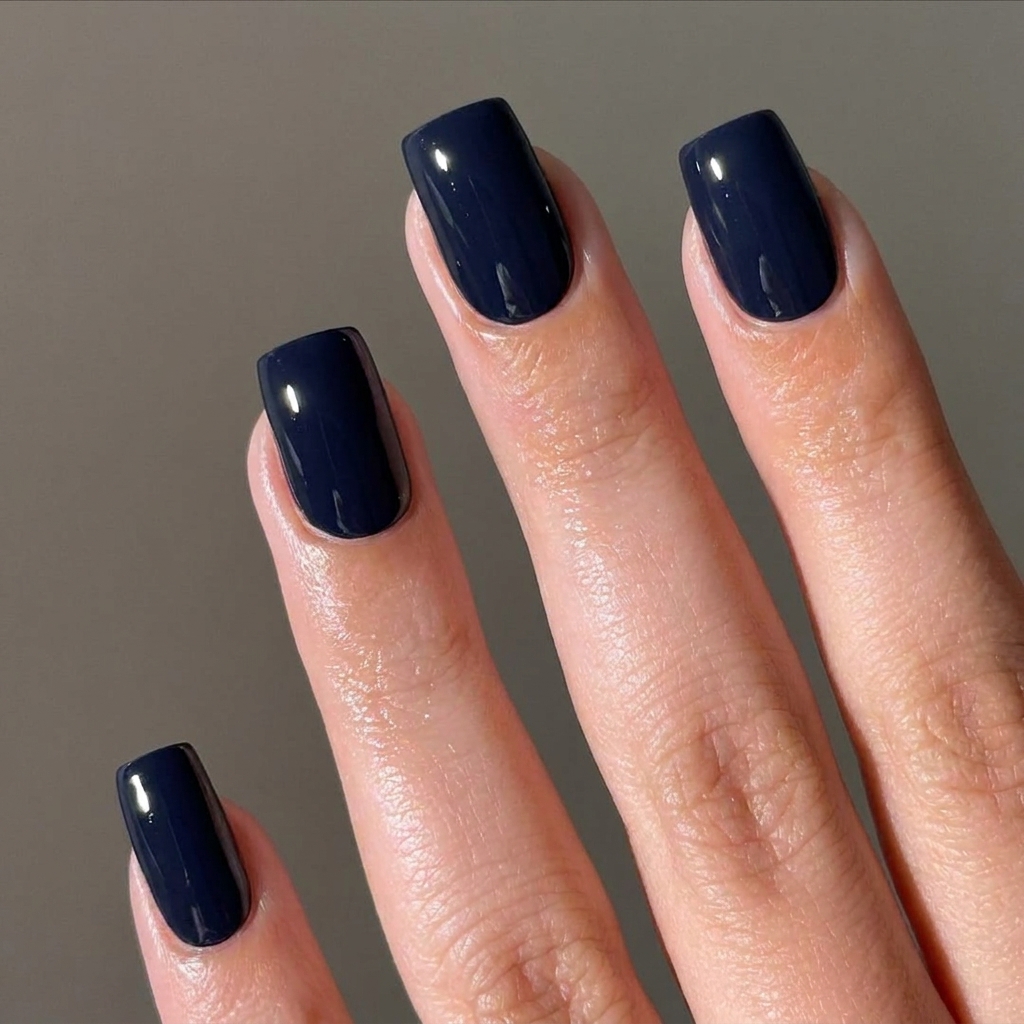
Getting that clean square shape is all about patience and a light hand. The results are immediately satisfying and the bold corners make even a soft pink polish look confident. Once you have shaped your nails this way you might find it hard to go back to anything else. Enjoy the process—it really does get easier and better with every mani.
Frequently Asked Questions
- → What skill level is this design?
This design is suitable for beginners to intermediate nail artists, as it requires patience and attention to detail rather than advanced skills.
- → What polish alternatives can I use?
You can use regular, gel, or dip powder polish with this square shape. Opt for sheer pink, nude, bold colors, or classic French tips for best results.
- → How long does this design last?
Square nails can last 1-2 weeks on natural nails, depending on polish type, daily care, and how well you protect the corners from breaking.
- → How long does it take to shape square nails?
Shaping and polishing square nails typically takes 25–40 minutes, depending on your starting shape and chosen manicure details.
- → Can I modify the technique for softer corners?
Yes! Lightly round the corners for a squoval shape or adjust the length and angle to suit your hand and nail bed structure.