 Pin
Pin
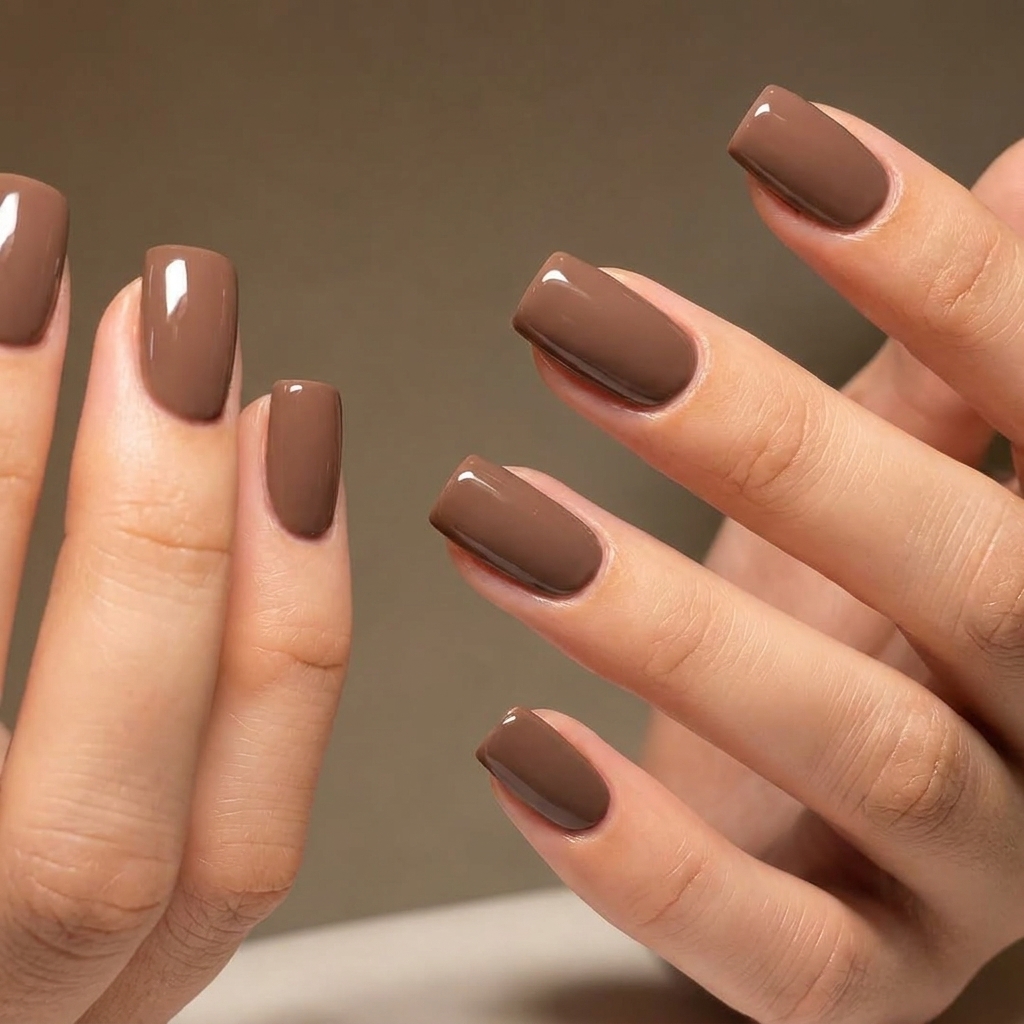
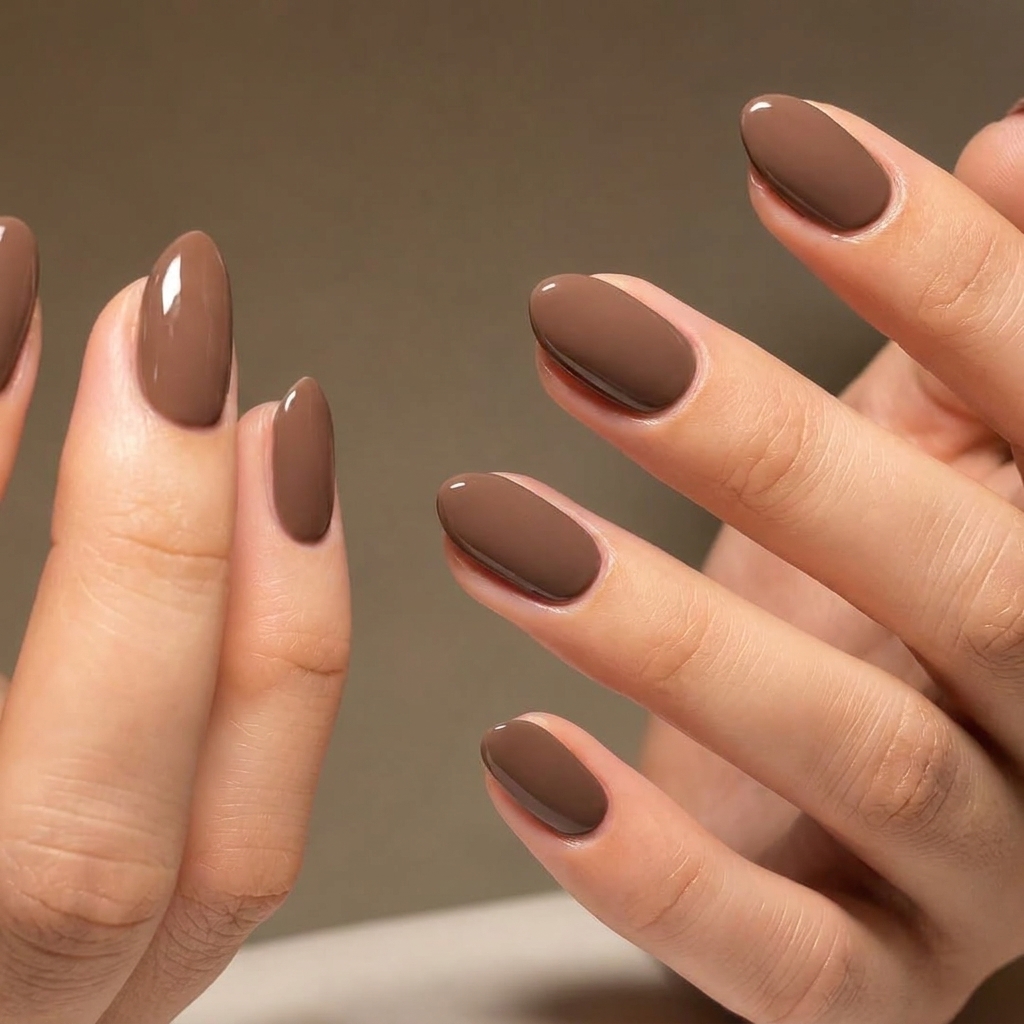
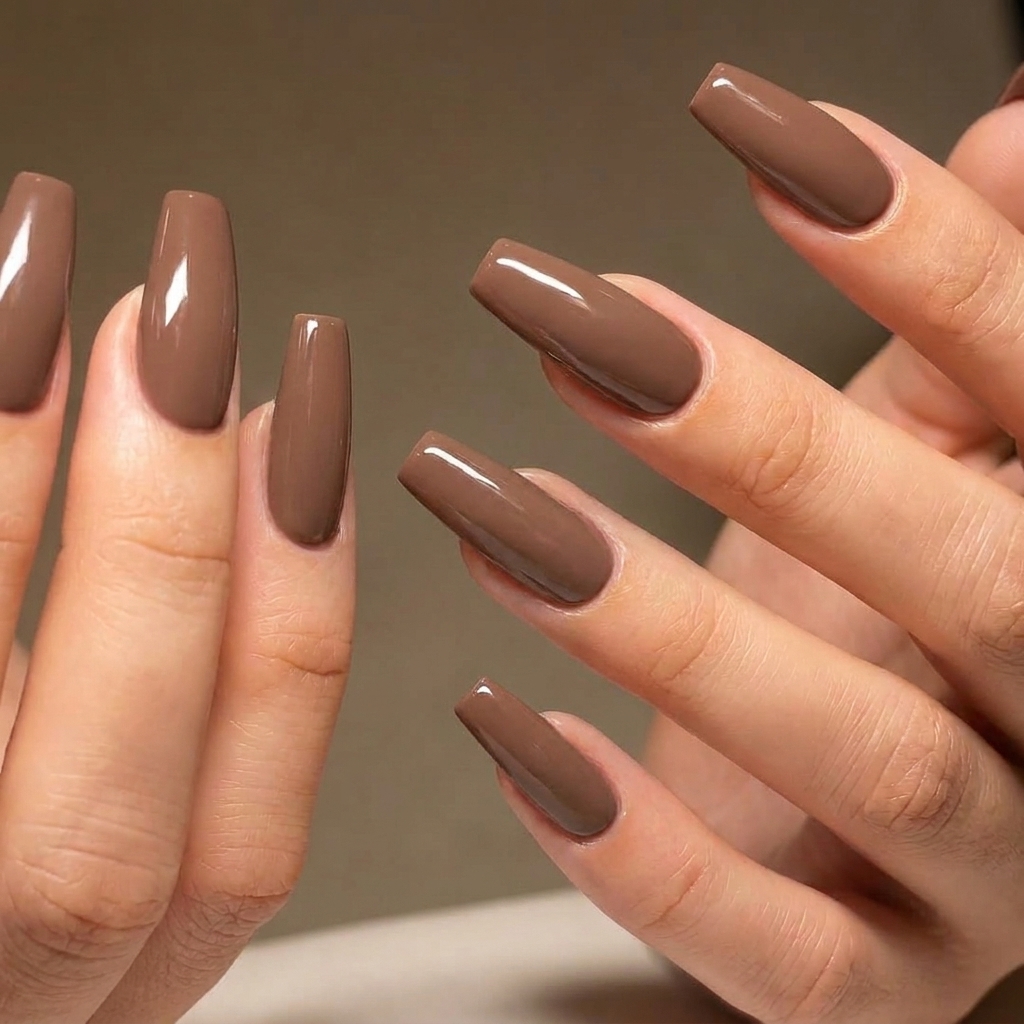
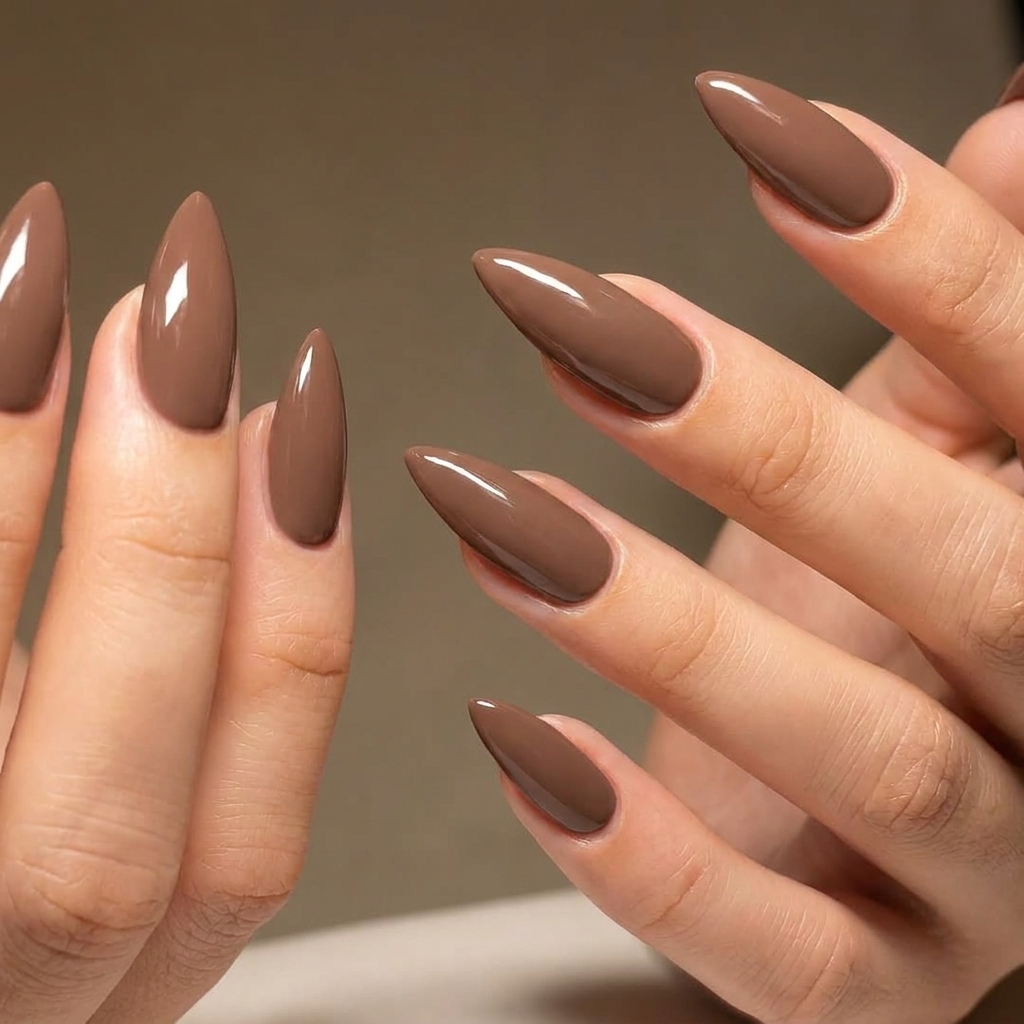
Nothing draws attention quite like a fierce set of stiletto nails. Their confident, elongated shape always gets compliments whenever I wear them, whether I keep it classy with nude polish or go all out with hand-painted designs. I started shaping my own stilettos at home to avoid the salon bills and found that with some patience and trial and error, the same sharp, bold look is totally possible in your bedroom. It is honestly one of the most satisfying mani makeovers to pull off yourself.
I remember the first time I tried shaping stilettos on my own natural nails. It was a little intimidating, but starting with the basics and taking it slow helped me avoid the “oops, it’s too thin” trap. Now, it is my go-to shape for when I want my hands to truly stand out.
Materials and Tools You'll Need
- Fine-grit 240 nail file: For gentle, controlled shaping
- Nail clippers: If you need to trim before filing
- Pre-shaped stiletto full-cover tips: For added length
- Quality nail glue or adhesive tabs: For applying tips
- Artificial tip file: If you need to refine plastic tips
- Soft nail brush: To whisk away filings and dust
- Polish remover and lint-free pads: To prep the nail
- Clear base coat: To help polish grip and protect the nail
- Your favorite nail polish shade: Whether sheer nude, bold color, or even shimmer
- Glossy top coat: For shine and durability
- Nourishing cuticle oil plus your favorite hand cream: For lasting hydration and a polished finish
 Pin
Pin
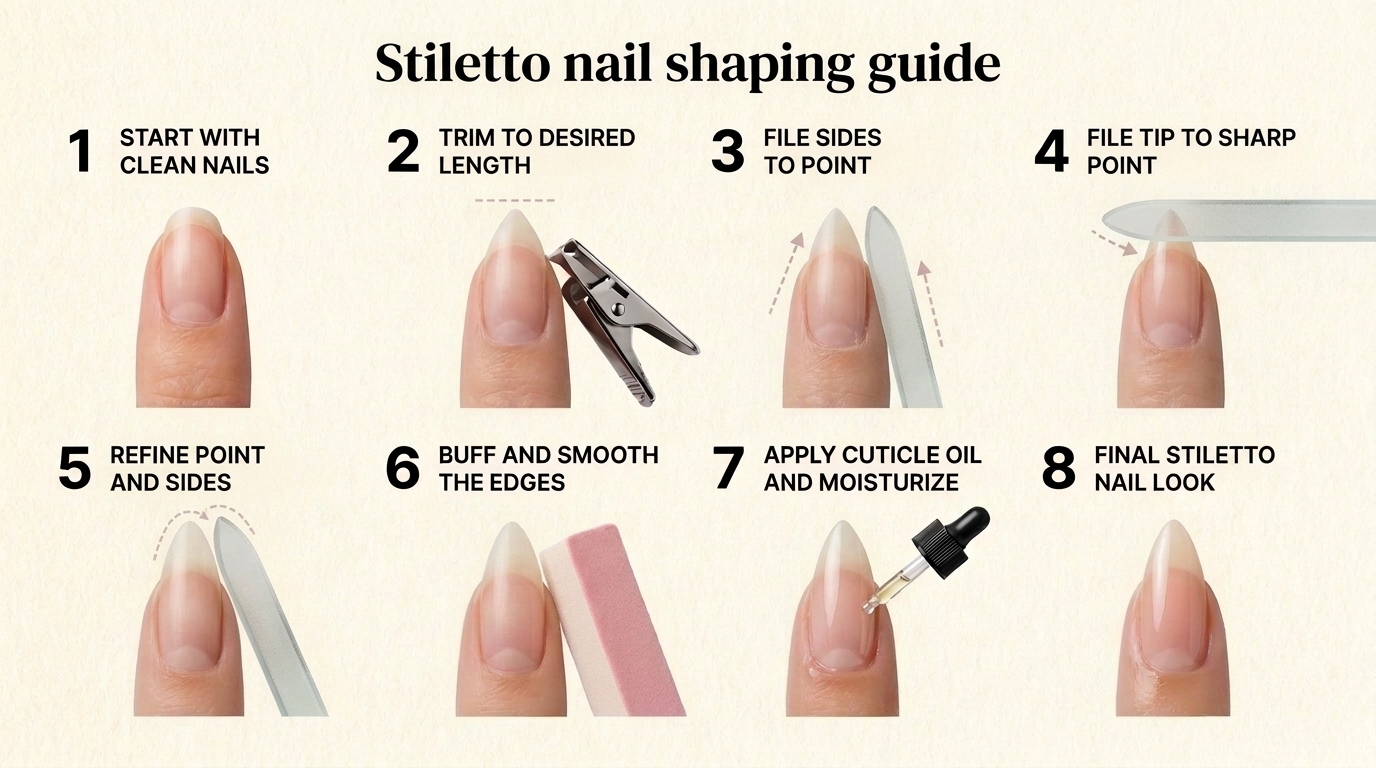
How to Make It Step by Step
- Prepping the Nail:
- Remove all old polish so you can see your natural shape. Wash and thoroughly dry your hands since shaping wet or softened nails can lead to splits and uneven edges. Always start in good light and consider placing your forearm on a table to keep your work steady.
- Choosing and Shaping Length:
- Decide whether you want to work with your natural free edge or add full-cover stiletto tips. Trim if necessary but leave enough length to create a gradual, even taper. Aim for each nail's finished length to match the shortest healthy one for a cohesive look.
- Finding the Center and Starting the Taper:
- Visualize a line running from your cuticle to the nail tip—your aim is to have the stiletto point fall directly on that line. When you start filing, alternate from one side to the other to keep everything perfectly centered. Check the shape after every few passes to avoid any leaning points.
- Perfecting and Refining the Point:
- Keep strokes even and pressure light while shaping to a true point. Be careful not to over-fine the tip—if it gets too thin, it might snap. Smoothing with a gentle touch helps the tip stay sharp, not jagged. Resist the urge to file the underside thin, as the strength comes from that thickness.
- Finishing and Polishing:
- After you're sure every nail looks balanced, sweep away filing dust, smooth any rough spots, and apply a base coat. Add your chosen color or French tips, making sure the polish hugs the stiletto outline. Top it off with a glossy top coat and finish with hydrating cuticle oil for that complete, salon-fresh effect.
 Pin
Pin
One of my favorite parts of shaping stilettos is that moment when the point finally lines up perfectly and every nail looks balanced. It helps me appreciate the artistry in even the simplest nail shapes. It is also so satisfying brushing away the last bit of dust to reveal sharp, even tips.
Polish Substitution Guide
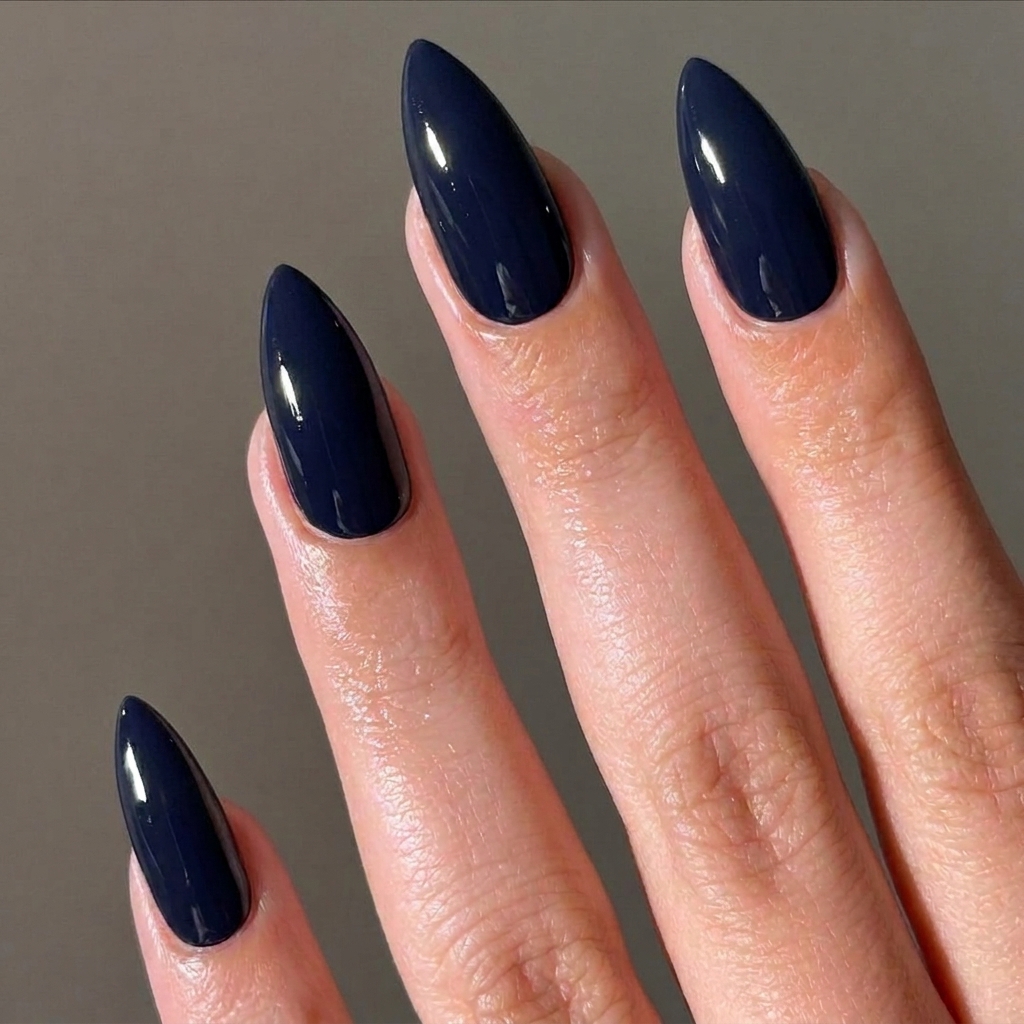
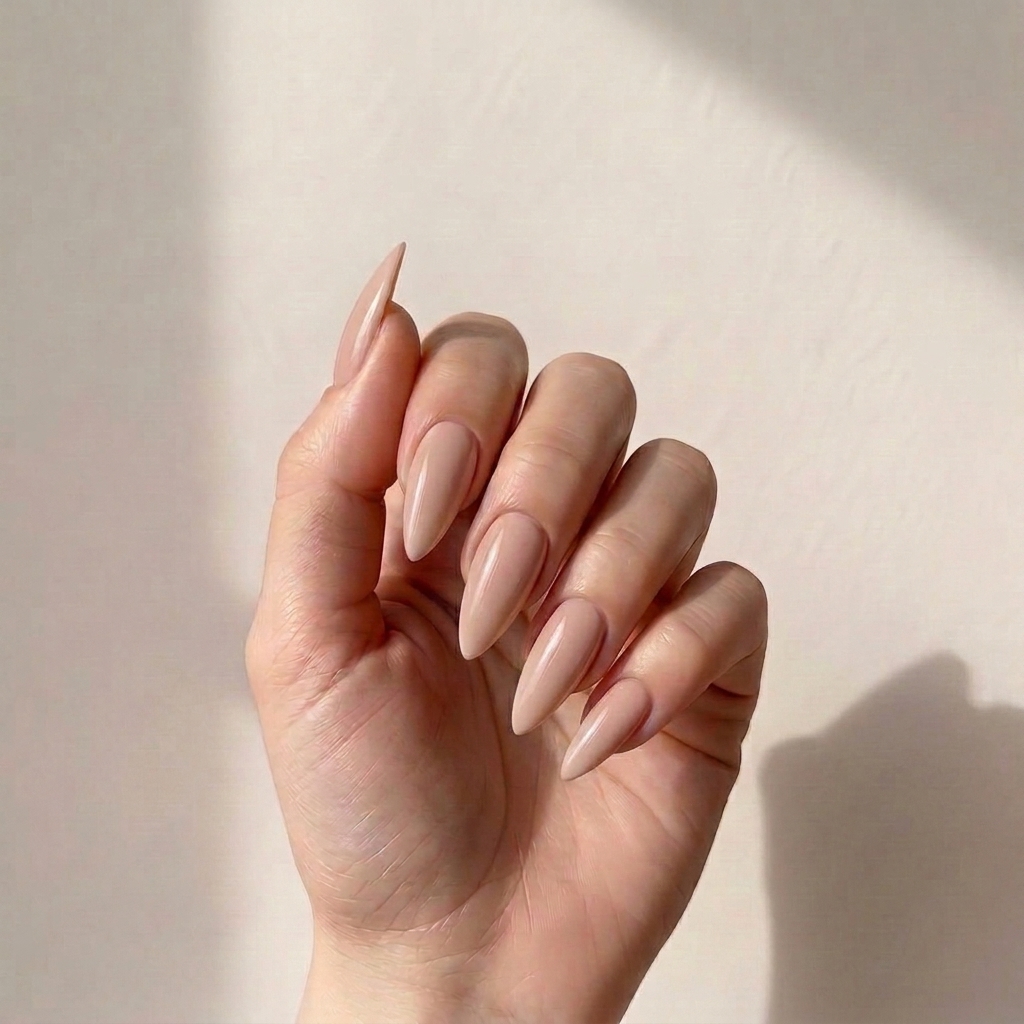
Stiletto nails look chic with everything from sheer pink to wild neon. Sheer polish makes the shape subtle and professional, while dark or bold colors make the points seriously pop. For something quick-drying and chip-resistant, try a gel formula if you have a lamp available, but regular polish works just fine too. I have even layered chrome or glitter top coats for extra impact.
Customization Ideas
There are endless ways to personalize your stilettos. Paint a V-shaped French tip for a fresh spin on the classic, add rhinestones on just one accent nail, or experiment with matte top coat for a sophisticated twist. For a high-drama look on special occasions, try ombre blends or hand-drawn lace details.
Common Mistakes to Avoid
It is easy to want a perfect match on every nail and end up over-filing. Step back and look at your nails from a distance often—that is how everyone else sees them. Do not chase a needle-thin tip, because those always crack. Stick to a point you feel comfortable wearing day to day, especially if you use your hands a lot at work or school.
 Pin
Pin
At-home stiletto manis may be a little bold for everyday, but the confidence boost is so worth it if you are up for showing off your skills. I love knowing I have the power to totally transform my look without a single salon appointment—just a file, polish, and a little patience.
Frequently Asked Questions
- → What skill level is this design?
This design is suitable for beginners to intermediate nail artists, as it requires basic shaping know-how.
- → Can I use gel polish instead of regular polish?
Yes, you can use gel, regular, or even dip polish to finish and protect your stiletto nails after shaping.
- → How long does the stiletto shape last?
Properly shaped and maintained stiletto nails last up to two weeks on natural nails, longer with full-cover tips.
- → How much time does it take to shape stiletto nails?
It typically takes 30–50 minutes to shape and polish both hands, including prep and finishing touches.
- → How can I modify the technique for shorter nails?
For short nails, grow out the free edge or use pre-shaped stiletto nail tips for dramatic length and shape.
- → What if my point isn’t centered?
Check your nail’s center line during shaping. Lightly adjust each side with your file to recenter the point.