 Pin
Pin
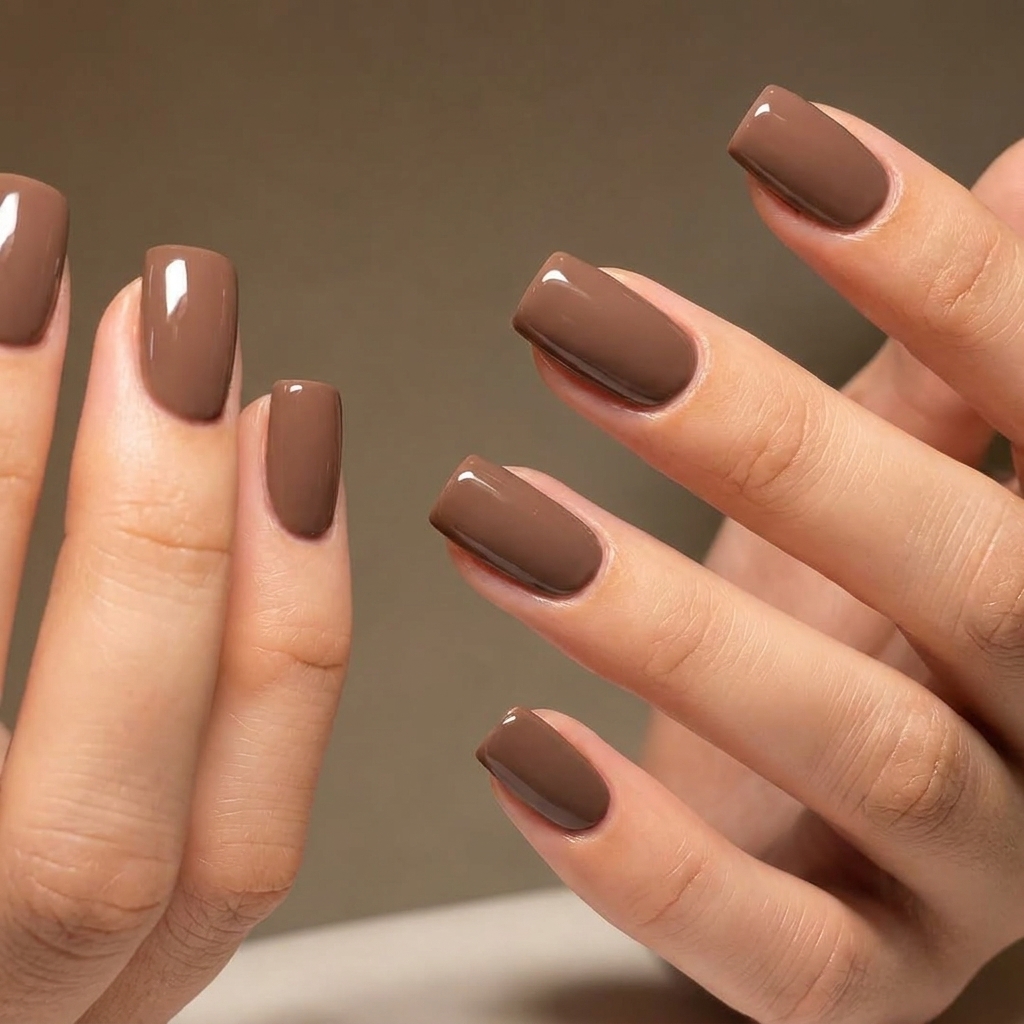
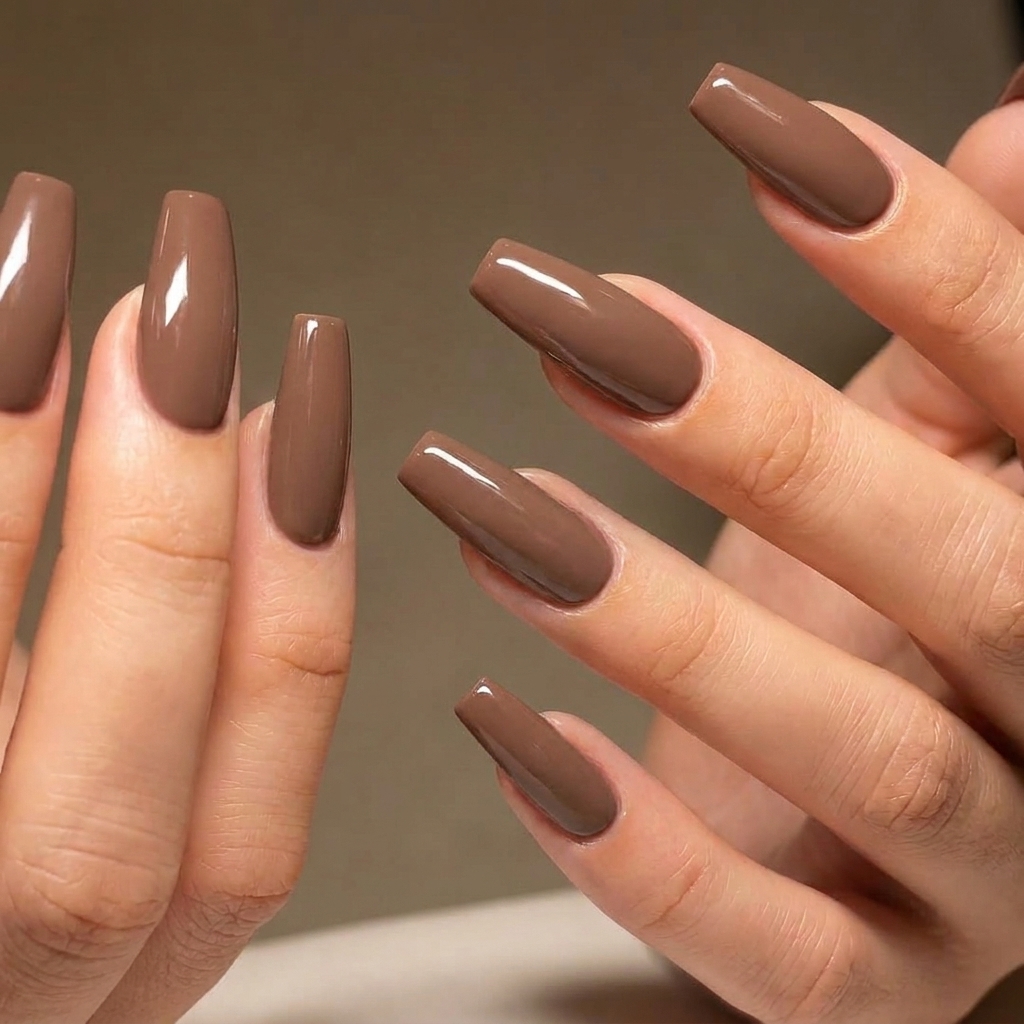
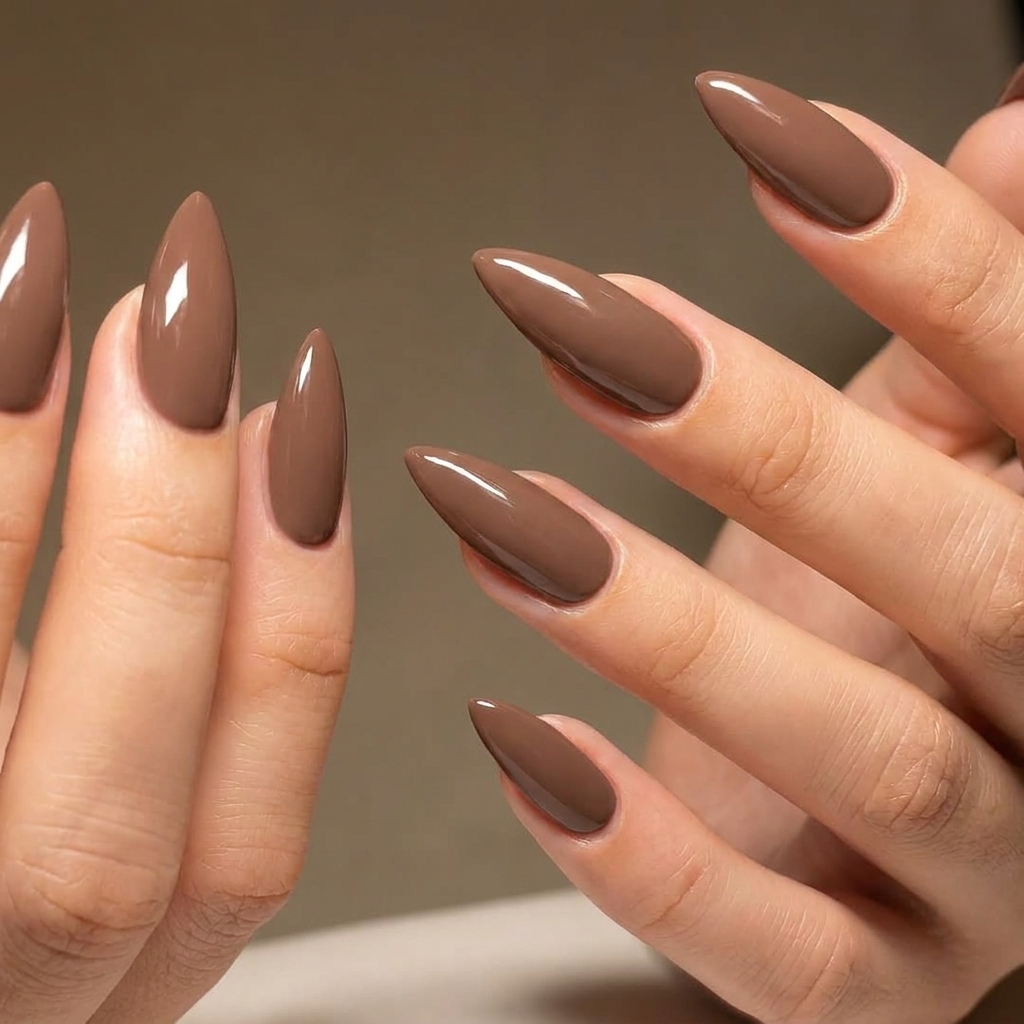
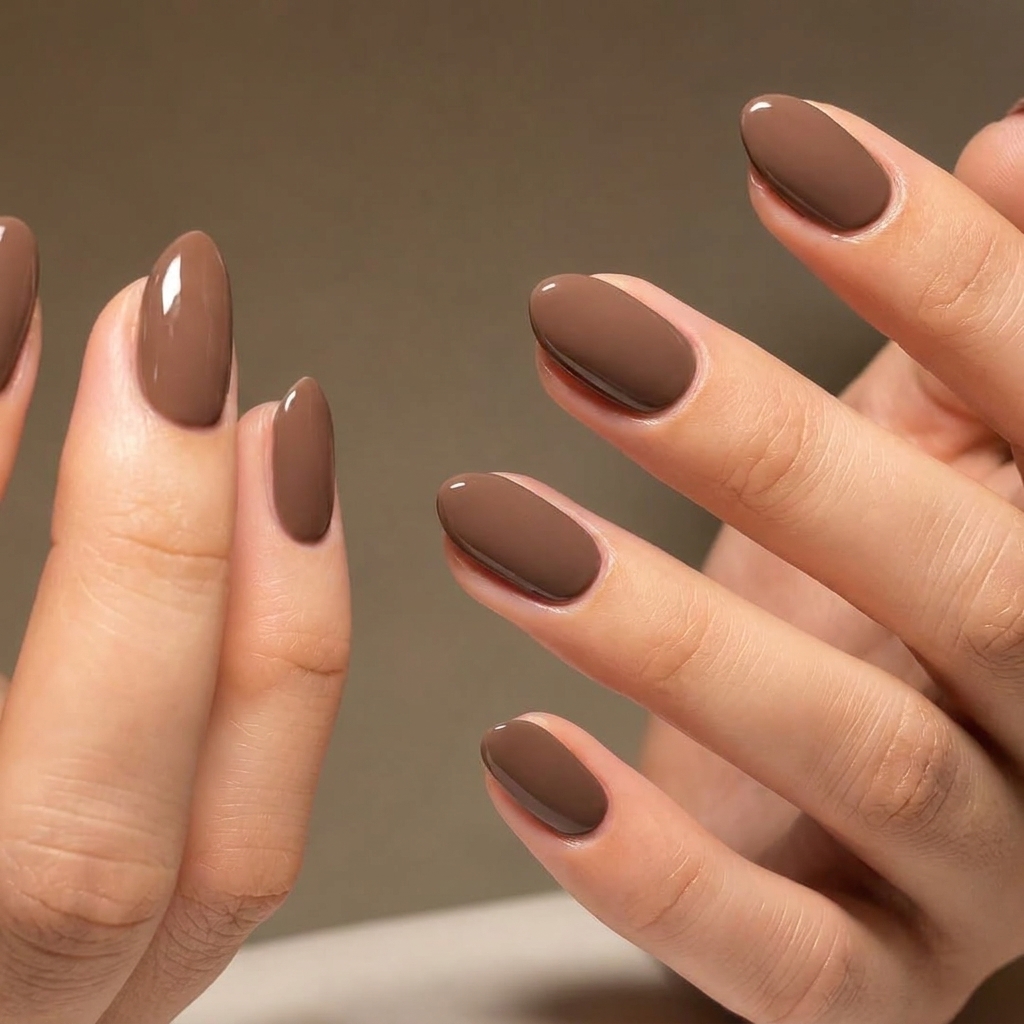
There is something timeless and elegant about the classic almond nail shape. Whenever I want my hands to look graceful and a bit more elongated, I find myself reaching for my trusty file to reshape my nails at home. Over the years, I have refined my technique and picked up so many little ways to perfect this look without ever setting foot in a salon. Almond nails are my go-to base when I want to switch between minimal sheers and graphic nail art.
Almonds always make my nails look so much longer and more expensive than they actually are. The real secret is how approachable the method feels once you get the hang of the filing motion and pause to check your shape as you go. My first attempt turned out so much better than I expected and now I rarely do any other shape.
Materials and Tools You'll Need
- Fine-grit nail file: choose a 240-grit file for even shaping and to avoid rough spots
- Standard nail clippers: for trimming if you need to take off a lot of length
- Soft nail dust brush: to sweep away particles for a smoother finish
- Gentle nail polish remover and lint-free pad: for cleaning the nail plate
- Wooden cuticle stick: helps tidy the edges without scratching the nail bed
- Clear base coat: for protecting natural nails and helping polish last
- Your favorite nail polish: try sheer pinks or nudes for the most classic look
- Shiny top coat: for sealing in your color and preventing chips
- Cuticle oil and hand cream: for soft skin and a pro-finish look
- Tip: Invest in a glass or crystal nail file for even gentler shaping. Look for polish with a self-leveling formula if you want that perfectly smooth finish on your new almond shape.
 Pin
Pin
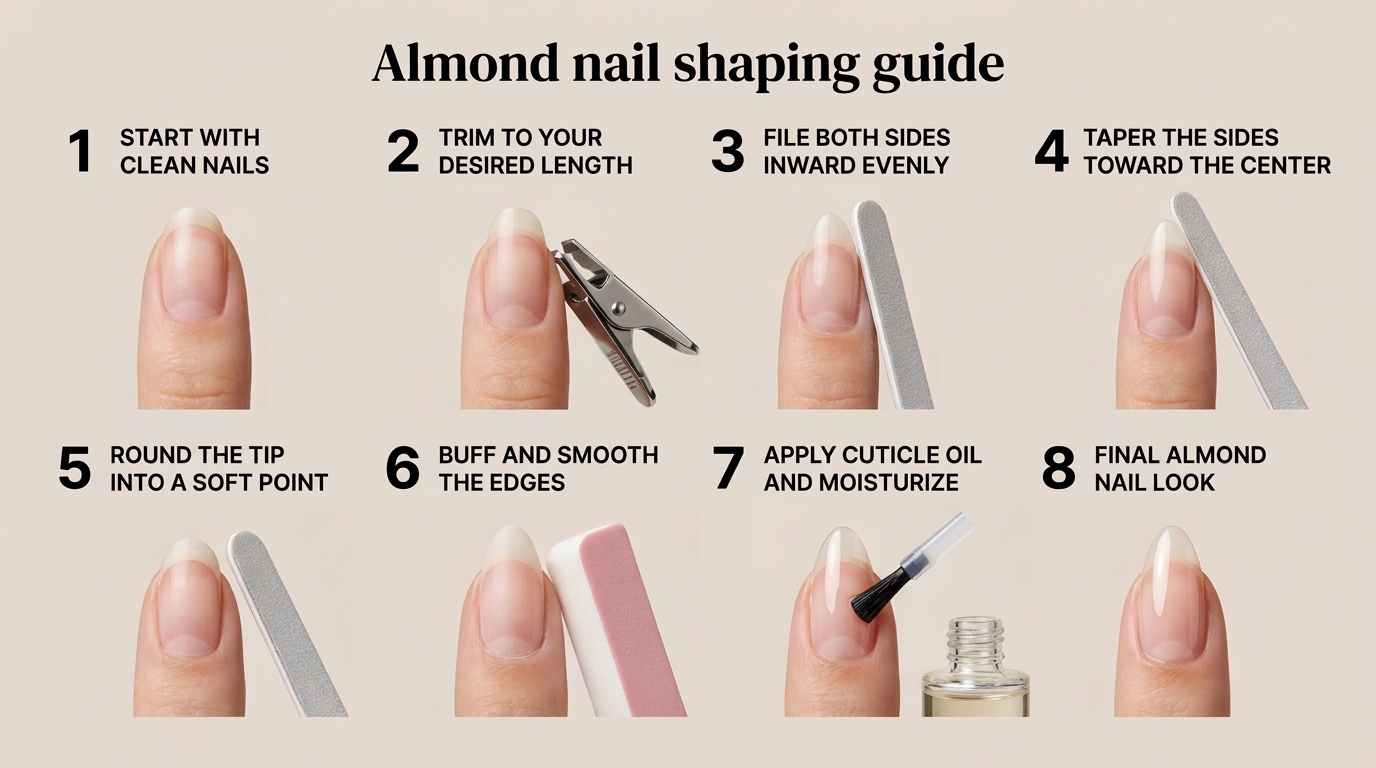
How to Make It Step by Step
- Prepping the Nail:
- Start by removing any old polish and gently cleaning and drying your nails. A completely bare, dry nail surface lets you see exactly where your natural free edge starts. Push back the cuticles so they do not interfere with your shaping.
- Establishing Length:
- Decide how long you want your almond to be. I recommend leaving a touch more than your intended length to give room to file and smooth later. If necessary, trim down with nail clippers evenly before picking up your file.
- Creating the Almond Shape:
- Imagine a line running straight down the center of each nail from cuticle to tip. File in towards the center from one side, using gentle strokes that only touch the free edge. Switch to the other side after a few motions and check your progress often from the top and sides. This back and forth filing keeps the shape balanced and prevents over-thinning one side.
- Refining and Smoothing:
- When you are happy with the tapered sides, softly round off the tip so it is slightly pointy but not sharp or stubby. Use light short strokes around the tip for a snug finish. Always make sure you check each nail from a few angles to catch any unevenness.
- Finishing Touches:
- Once your nails are all shaped, brush away any dust and go over the edges with very light pressure for a glassy smooth finish. Paint on your base coat and favorite sheer or nude polish. Let each layer dry for the cleanest result, then finish with a swipe of top coat. Once everything is dry, complete the look with cuticle oil and a bit of hand cream.
 Pin
Pin
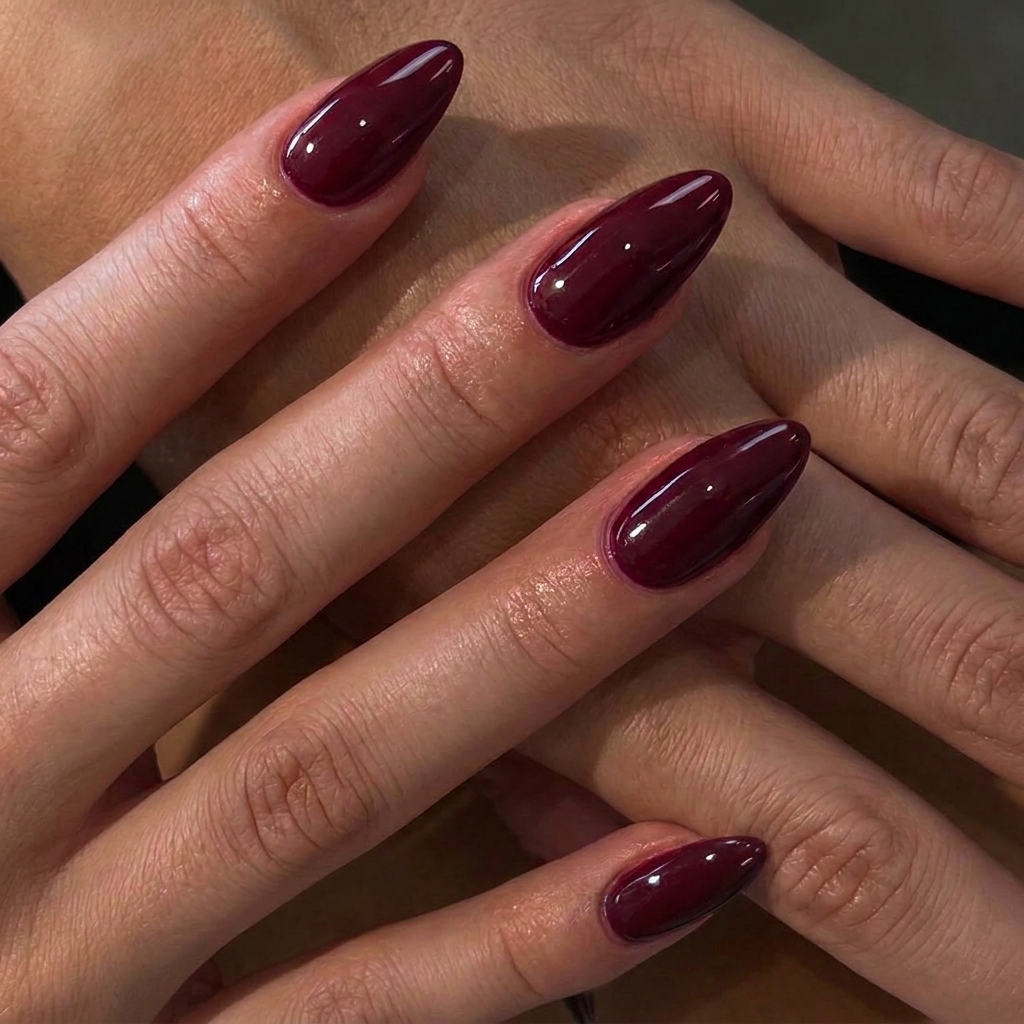
My favorite part is when the almond tip starts to reveal itself as you file. The transformation feels so satisfying once you round that final sharp point and see the chic shape appear. It is a small change but makes my hands look so much more polished and adds a little flair to even the simplest mani.
Polish Substitution Guide
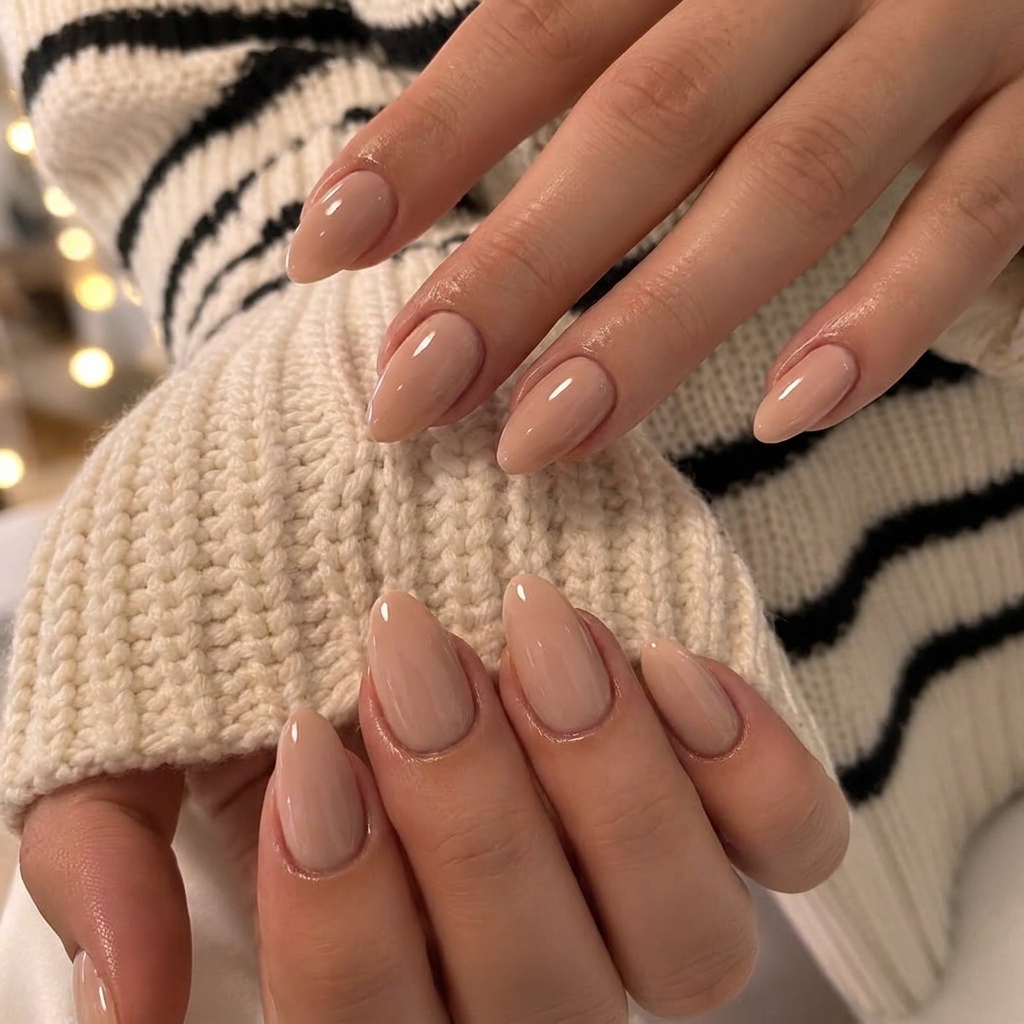
You do not have to splurge on salon brands to get a perfect almond nail look. If you want a gentle, easy-to-use polish, reach for a self-leveling formula or a breathable base if your nails are on the delicate side. I like sheer pinks for an understated vibe, but you can easily swap for nudes, soft mauves, or a glowy milky white. For a French tip, choose a bright white with good opacity that will glide evenly across the curved edge.
Customization Ideas
The almond shape is such a great blank canvas. Try painting just the tips for a modern French, or add a fine metallic stripe along one side for a subtle accent. You can also play with art by adding tiny crystals on a single finger. When I want a playful twist, I sometimes paint each nail a different color from the same tonal family or add a bit of micro-glitter to the base.
Common Mistakes to Avoid
Filing away too much from the nail’s attached sides leaves nails thin and vulnerable. Avoid using coarse files or metal ones on natural nails. Never try to force a dramatic almond on very short nails or you will end up with an awkward point. Remember, you can always file more but you cannot add the length back so go slowly.
 Pin
Pin
Whether you are shaping your nails for the first time or just touching up in between salon visits, almond tips are an attainable luxury. The process is relaxing and oddly meditative, and the result makes even basic polish look runway ready. My best advice is to go slow and enjoy the transformation—the perfect almond is always one careful file away.
Frequently Asked Questions
- → What skill level is this design?
This design is suitable for beginners. With careful filing and patience, anyone can achieve almond-shaped nails at home.
- → What can I use instead of a fine-grit nail file?
You can use an emery board or a glass file as alternatives to a 240-grit file for shaping natural nails.
- → How long will this almond nail shape last?
Almond-shaped nails last until your natural nails grow out or break, usually 1–3 weeks with good care and touch-ups.
- → How much time does shaping almond nails take?
Shaping and polishing almond nails usually takes between 20 and 40 minutes depending on experience and nail length.
- → Can I modify the almond shape technique?
Yes, you can adjust the taper and tip roundness for a softer or more dramatic almond, or adapt for shorter natural nails.