 Pin
Pin
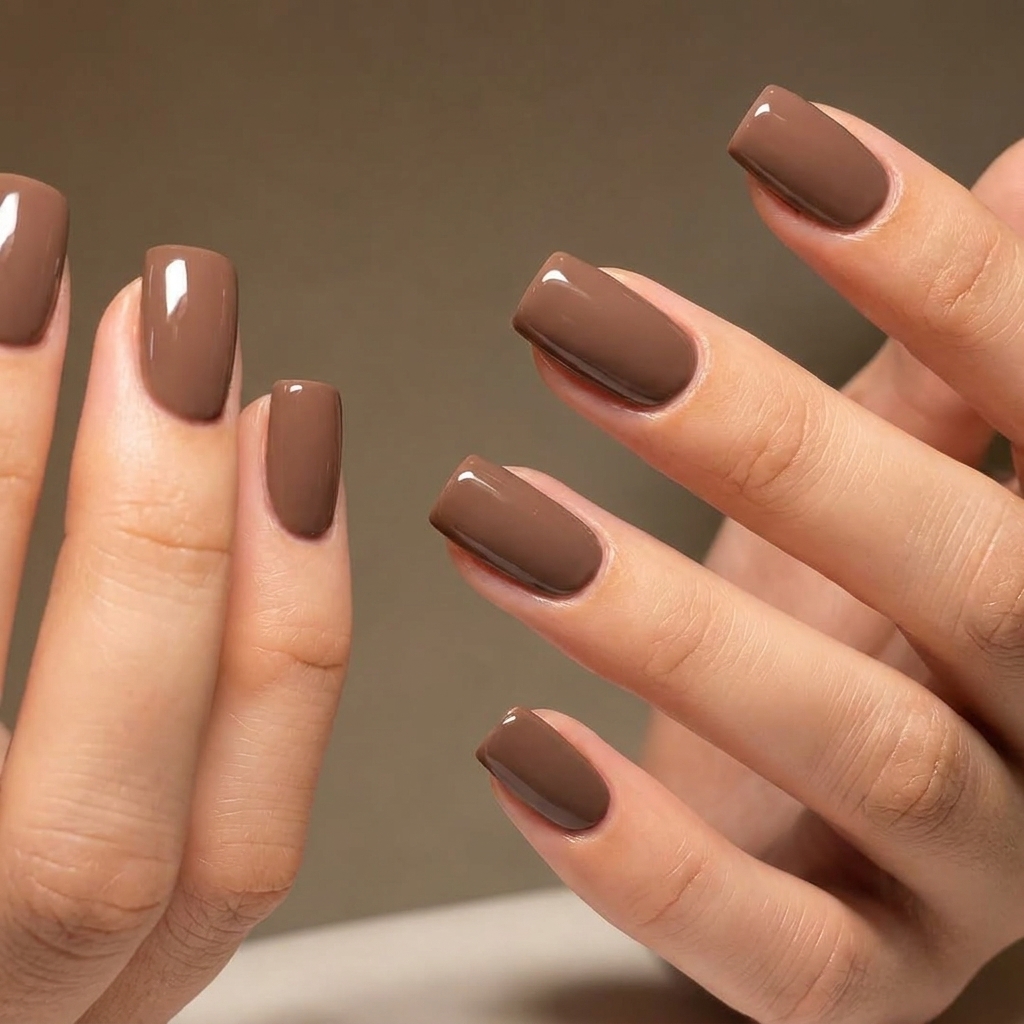
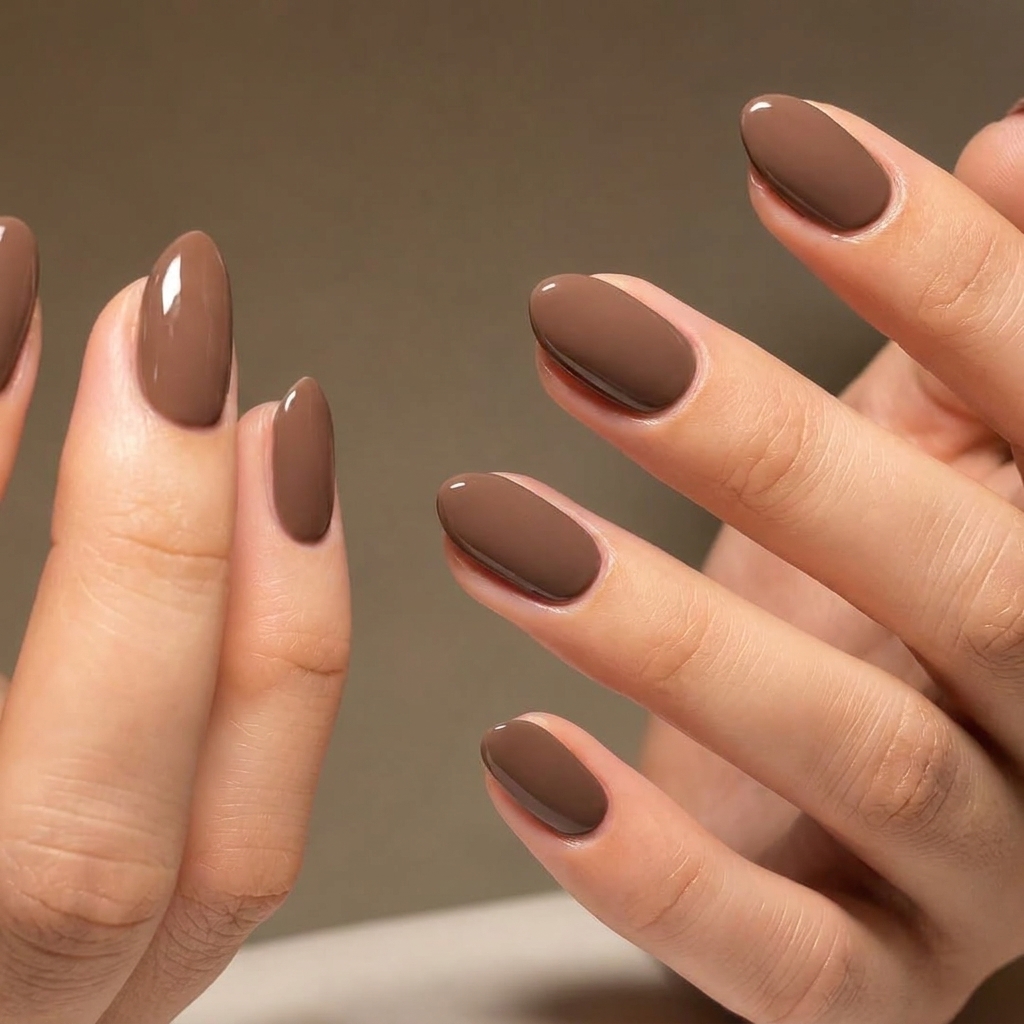
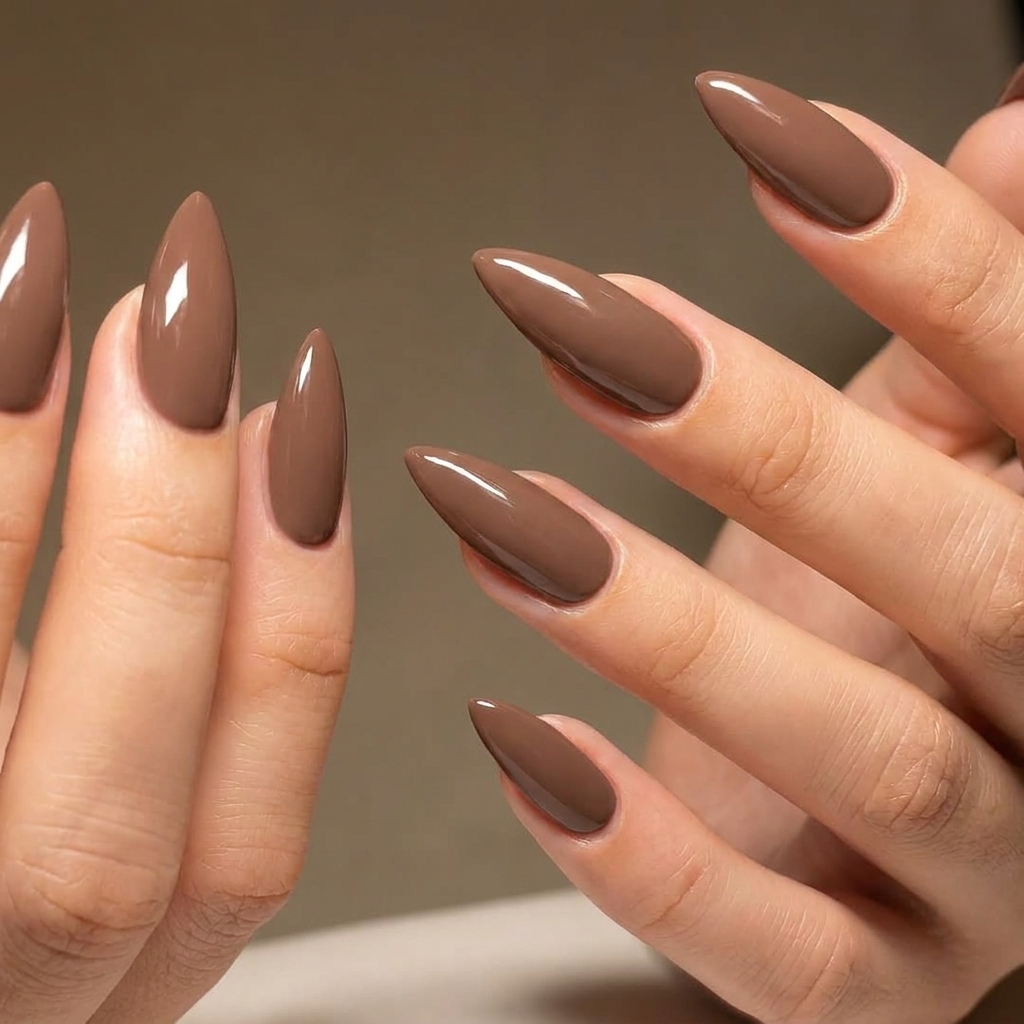
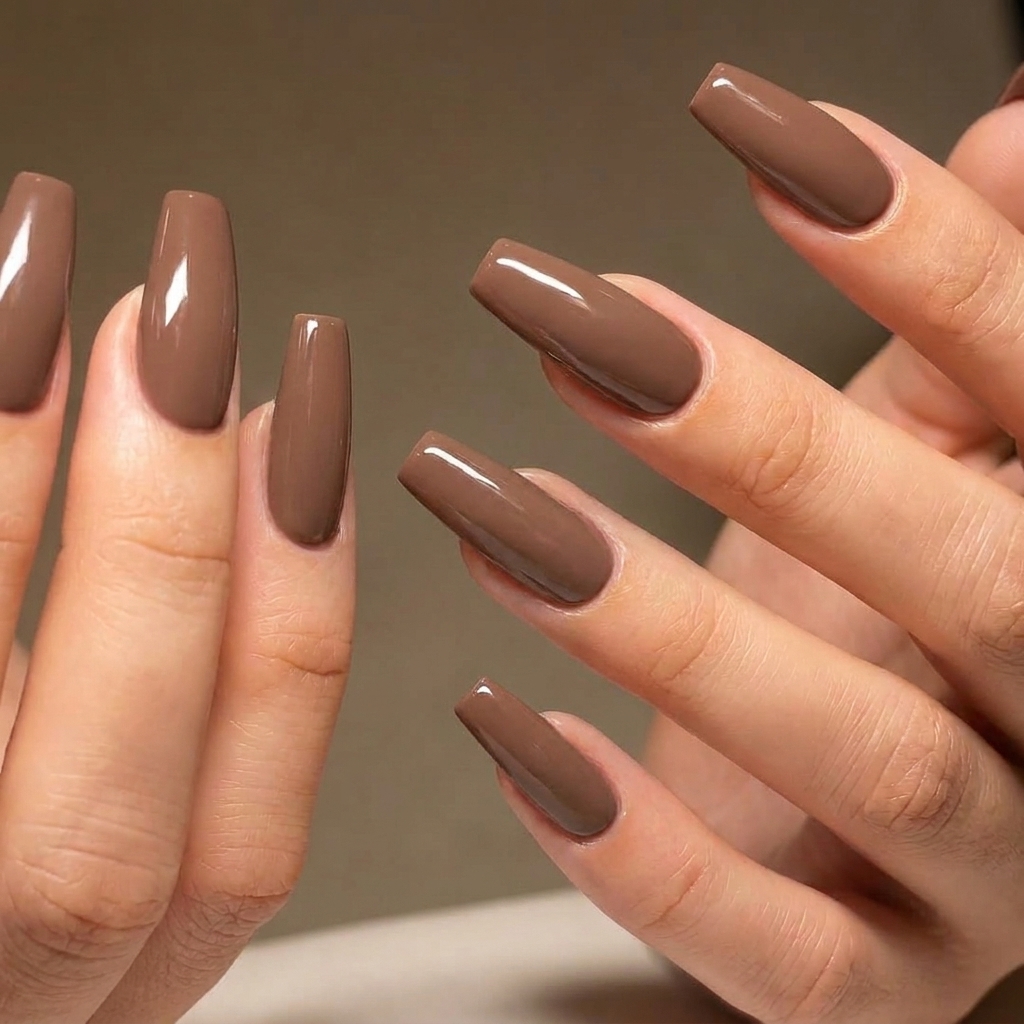
There is just something chic and endlessly cool about a perfectly filed set of coffin nails. I remember the first time I tried shaping this style at home after falling in love with a minimal nude mani on Instagram. The vibe was so modern and bold, and I could not believe it was achievable with just a file and a little patience. Coffin nails, also called ballerina nails, have this transformative effect—making every polish color or tip design feel fresh and on trend.
My favorite part is seeing how this silhouette instantly elevates even the simplest sheer polish. It makes DIY manis look so much like salon work.
Materials and Tools You'll Need
- Fine-grit 240 nail file: Gentle shaping and smooth edges
- Nail clippers: Shorten the length first if needed
- Pre-shaped coffin tips: Great for short natural nails needing extra length
- Nail glue or adhesive tabs: To secure full-cover tips
- Sturdy file: Adjusting artificial tips when necessary
- Soft nail brush: Clear away filing dust
- Nail polish remover and lint-free pads: For a clean prep
- Clear base coat: Protect your nail bed
- Your go-to polish: I usually use sheer pink or beige for a classic look
- Glossy top coat: Shine and protection
- Cuticle oil and hand cream: Finish for healthy-looking skin
When picking a file, look for one that is flexible yet durable and avoid anything super coarse if you want to prevent splitting.
 Pin
Pin
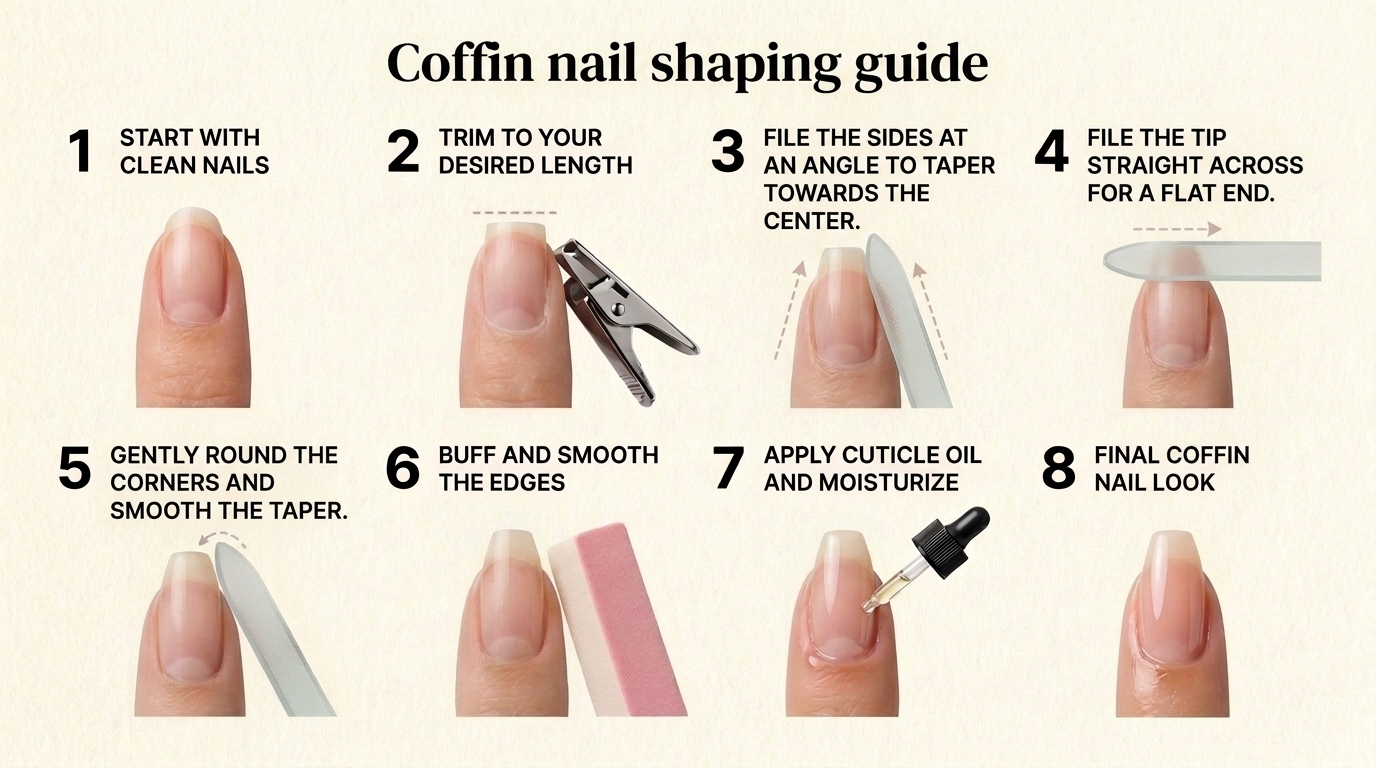
How to Make It Step by Step
- Prepping the Nail:
- Remove all polish and make sure your nails are completely dry before shaping. This reduces breakage and helps you see your natural nail edges more clearly.
- Choosing and Measuring Your Length:
- Decide how long and dramatic you want your coffin shape. Short nails can go just slightly tapered, while long nails create a striking effect. If using tips, fit them before shaping.
- Marking Out the Shape:
- Visualize the center line and how wide you want the flat tip to be. Keeping this balance is much easier when you alternate sides as you file.
- Tapering the Sides:
- Use your file at a gentle inward angle on one side, then switch to the other side after a few strokes. Take small steps and always check your progress from multiple angles.
- Shaping the Flat Tip:
- Hold the file perfectly straight across the tip. Gently straighten and define the end so that it has two crisp corners and feels sturdy. Avoid rounding the edge except to soften sharpness.
- Smoothing and Checking the Outline:
- Finish with light finishing strokes and check the nail from above, from the tip, and side views. Look for symmetry but avoid the urge to over-file.
- Polishing and Finishing Touches:
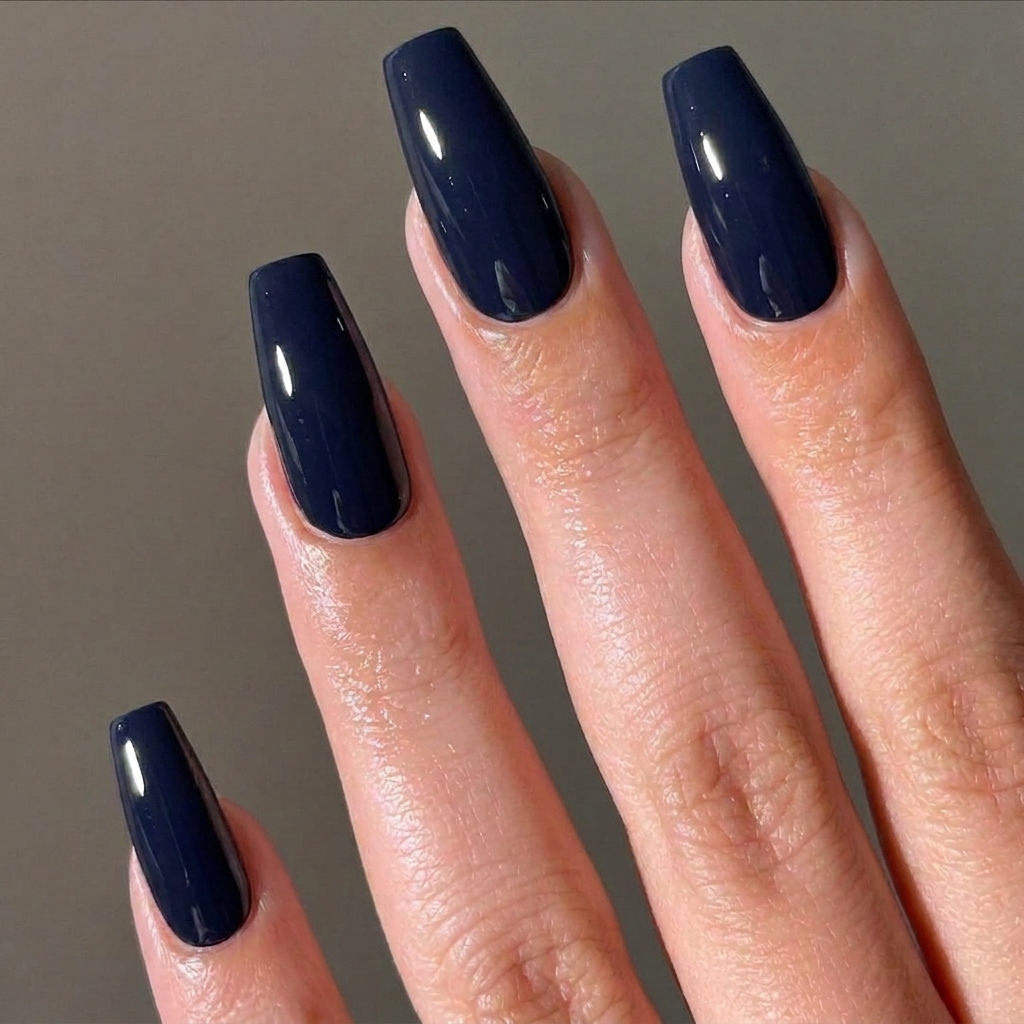
- Apply base coat, color, and top coat in thin layers. When dry, add cuticle oil for a cared-for finish that shows off your handiwork.
 Pin
Pin
My favorite part is always the final reveal—wiping away dust and seeing that perfectly sculpted flat tip. It is so satisfying to see how even small improvements in your technique can make your mani look so intentional.
Polish Substitution Guide
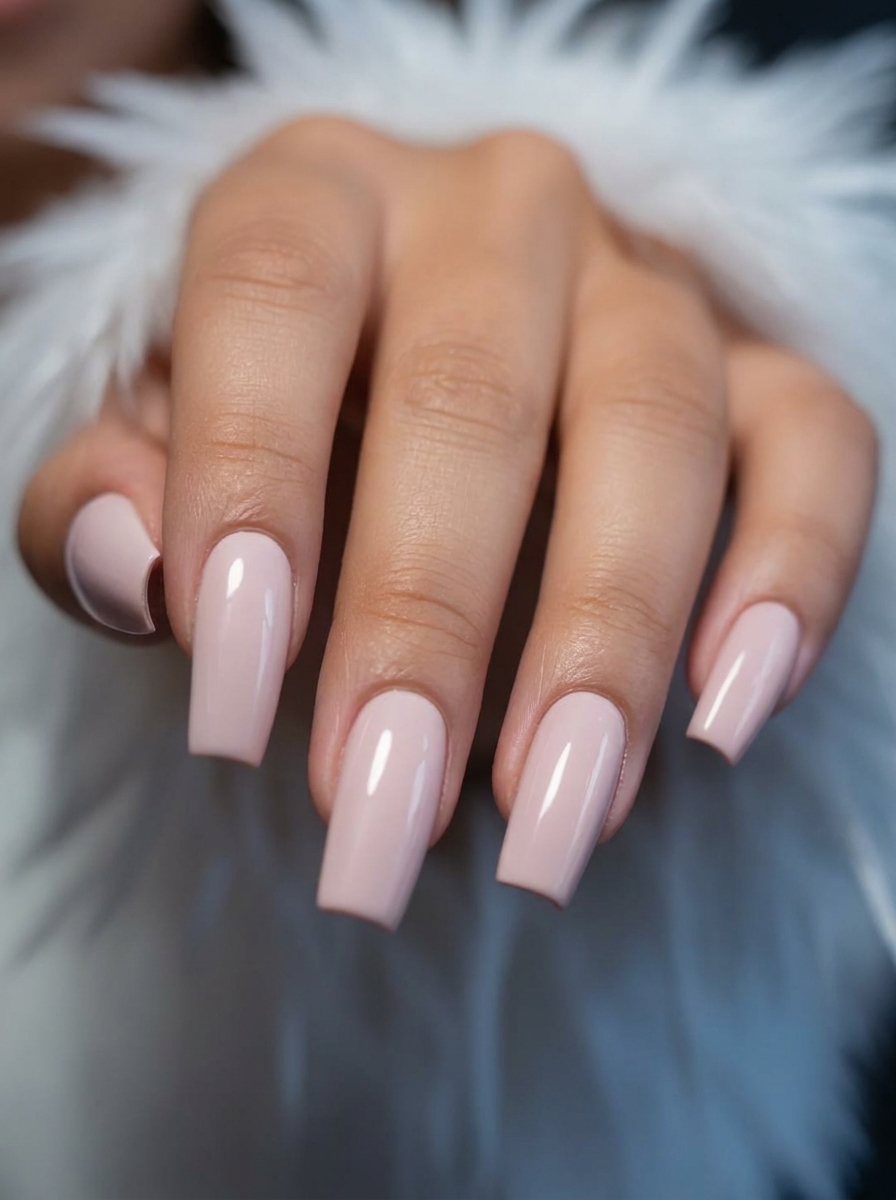
You really do not need anything fancy for a stunning coffin nail look. Sheer pinks give that clean, elongated vibe, but any neutral or bold color works. If you like experimenting, try a matte top coat or a subtle shimmer for extra dimension. For tips, I always avoid quick-dry formulas because they can shrink at the edges.
Customization Ideas
Want to personalize your new shape? Try adding tiny gems at the tip corners or playing with abstract negative space art that follows the coffin outline. Even a bold metallic stripe or a deep V-shaped French tip looks incredible with these proportions. Accent nails are a fun way to experiment without overwhelming the whole hand.
Common Mistakes to Avoid
The most common misstep I see is over-filing. Chasing perfect symmetry can actually leave you with much shorter nails than planned. The other biggie is making the tip too narrow, which ruins the illusion of a bold flat edge. It is better to leave a bit more width and crisp up the corners.
 Pin
Pin
The beauty of coffin nails is that they are both striking and achievable with the right method. Every time I finish a set, no matter the polish, I am amazed by how put together and polished my hands feel. Stick with the basics, adjust as your skills grow, and you will have salon-level results right at home.
Frequently Asked Questions
- → What skill level is this design?
This design is suitable for beginners and up, as it uses a simple filing technique without special tools.
- → Can I shape coffin nails without a drill?
Yes, a fine-grit nail file is all you need to create tapered sides and a flat tip at home.
- → How long does the coffin shape last?
Coffin nails maintain their shape up to two weeks with gentle care and quick touch-ups for snags.
- → How long does it take to shape coffin nails?
Shaping natural coffin nails takes about 25-40 minutes, depending on your experience and nail length.
- → Can I use full-cover tips for this shape?
Yes, pre-shaped coffin full-cover tips are great alternatives if your natural nails are short or thin.
- → How can I modify the technique for short nails?
For short nails, file a tapered square shape with a subtle coffin outline or add full-cover tips for length.