
 Pin
Pin
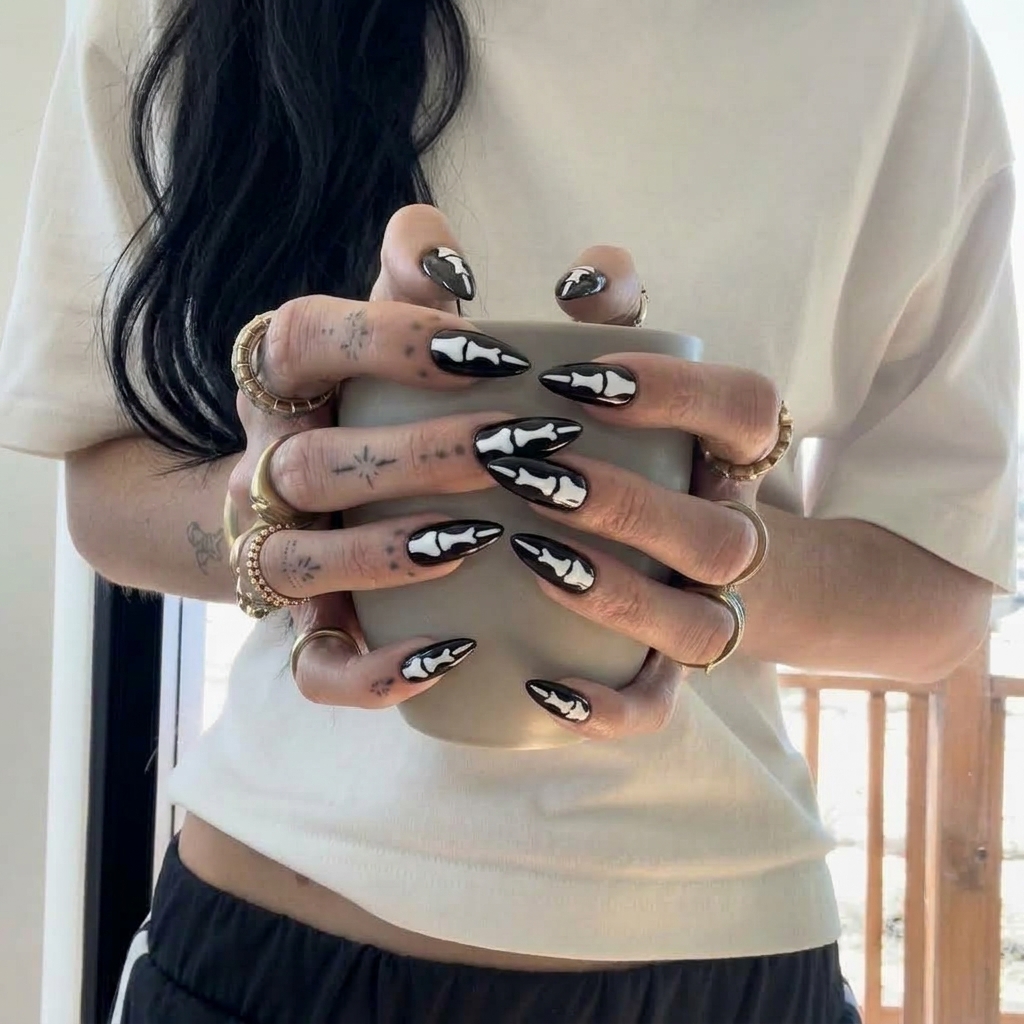
The bold contrast of skeleton bone art over glossy black tips has never failed to draw attention when I wear this look. This skeleton design lives rent-free in my list of fall favorites because even though the effect is striking, the step-by-step is easier than it appears. You get those crisp, graphic joints and bright white bones with only polish, patience, and a couple of fine detail tools. Something about this sharp almond shape and those layered bone sections makes my hands feel straight out of a comic book — everyone asks if they are stickers, but nope, all painted.
As someone who loves artsy Halloween styles, I always reach for this design before parties. It never gets old recreating those rounded bones and sleek black joints, and the compliments roll in every time.
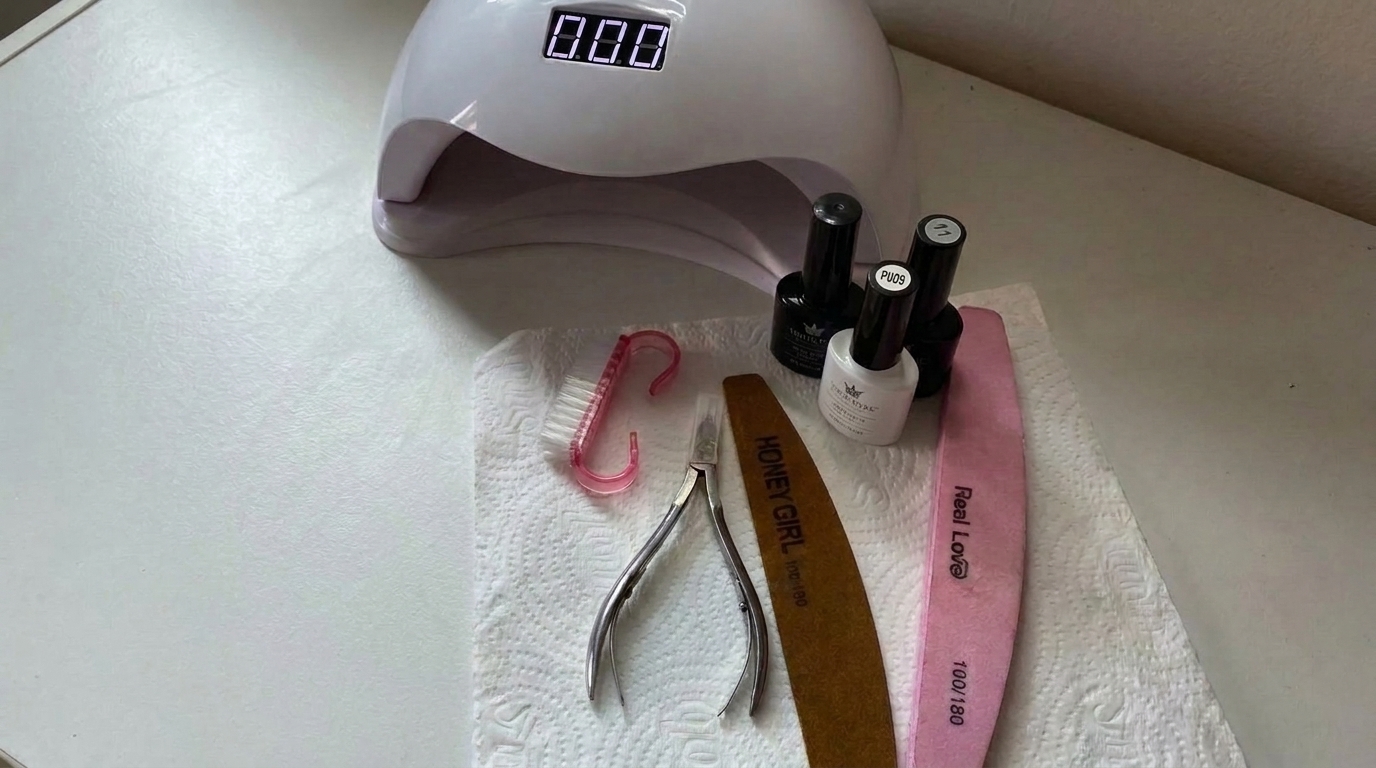
Materials and Tools You'll Need
- Black polish: With a rich opaque formula two thin coats is enough for deep coverage
- White nail art polish: Strong pigmentation and a slim brush for crisp bone shapes
- Clear base coat: That grips regular polish or any tips you’re applying
- Glossy top coat: A high-shine formula that will not smudge sensitive nail art
- Long almond or stiletto-shaped tips: If you want extra length look for sturdy tips that match your nail width
- Nail adhesive or adhesive tabs: Tested for comfortable long wear
- Fine liner brush: Extremely slim for precise outlines and tapered bone tips
- Small detail brush: Flexible and firm enough to fill in the rounded bone ends
- Small dotting tool or a tiny paintbrush: For the broad top bones
- Nail file: Fine grit for shaping both natural and artificial tips
- Cuticle pusher or manicure stick: Gentle to avoid skin tears
- Cleanup brush: Flat edged for removing black or white smudges
- Polish remover and lint-free pads: To keep each layer neat
- Small palette: Glass or ceramic for dispensing and blending polish drops
- Paper towels: For wiping tools between each color
- Cuticle oil: To finish and nourish the skin
 Pin
Pin
How to Make It Step by Step
- Prepping the Nail:
- Start with clean bare nails. Push back cuticles and remove oils to ensure every coat adheres smoothly. Filing the sides carefully builds out the almond shape so your bone motif looks elongated and crisp.
- Applying the Base and Black Polish:
- Once nails are shaped and clean, lay down a single smooth layer of base coat. Follow with two thin coats of black polish, making sure to let each layer dry fully. Cover the free edge for extra staying power then use a cleanup brush to perfect your lines.
- Mapping Out and Painting the Skeleton Bones:
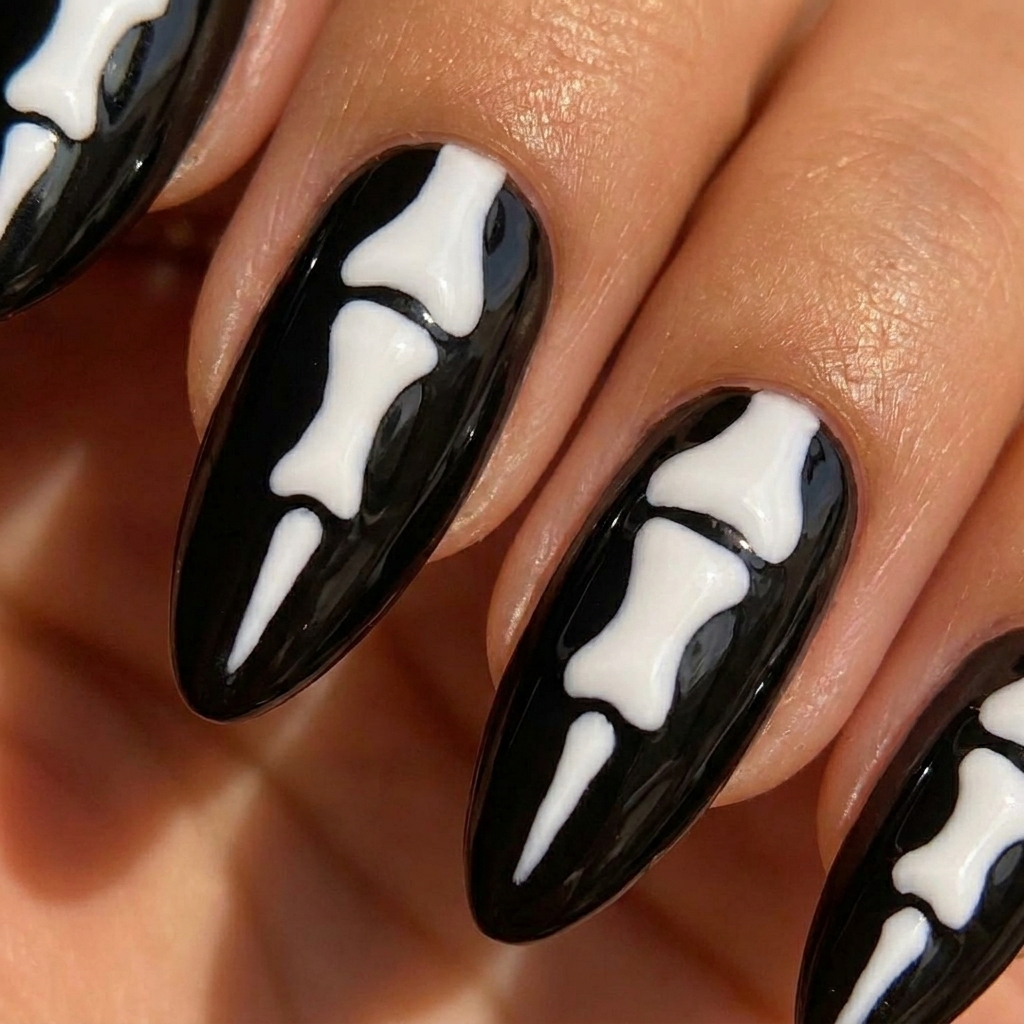
- Picture three white shapes running vertically on each nail. Begin with the broad bone closest to your cuticle adding rounded ends with your dotting tool and pulling crisp edges with your detail brush. Leave a narrow black joint then paint the smaller hourglass form in the center. Top it off with a teardrop-shaped bone at the tip working with your liner for precision. Adjust each motif to suit the nail width as you go.
- Refining the Design:
- If the white looks patchy layer thin coats within your outlines. Tidy messy lines and joints with your fine liner dipped in black polish. Aim for symmetrical bones and slim black gaps for those jointed details.
- Top Coating and Finishing:
- Once your artwork is fully dry generously apply a glossy top coat. Float the brush to avoid dragging the white polish. Protect your new mani with a rich cuticle oil after it’s set.
 Pin
Pin
I always pause and admire the bones after the first nail is finished — something about how the rounded ends and slim joints come together is just so satisfying. Floating the top coat felt scary at first but it truly keeps the design crisp all the way until removal.
Polish Substitution Guide
If you do not have a nail art-specific white pick a regular opaque white polish and a separate fine-tipped art brush. You can also swap the black background for deep navy or forest green if you want a twist on the classic spooky look. For top coat using a gel top (without curing) also works as long as it is quick-dry and compatible with air-dry polish.
Customization Ideas
Want to make these bones shine for a party? Try adding silver glitter along the joints or paint the bone shapes with a glow-in-the-dark top coat. Switch up the bone layout and overlap them for a slightly creepier vibe or finish just the accent nail with the full skeleton and keep the others solid black.
Common Mistakes to Avoid
Thick white polish layers can look bumpy and take forever to dry. Instead always build up the color in thin coats. Another common error is letting the black polish pool at the sides of wide tips — clean as you go for even frames around your bones. Do not skimp on letting each bone dry before outlining or you risk dragging color into your black gaps.
 Pin
Pin
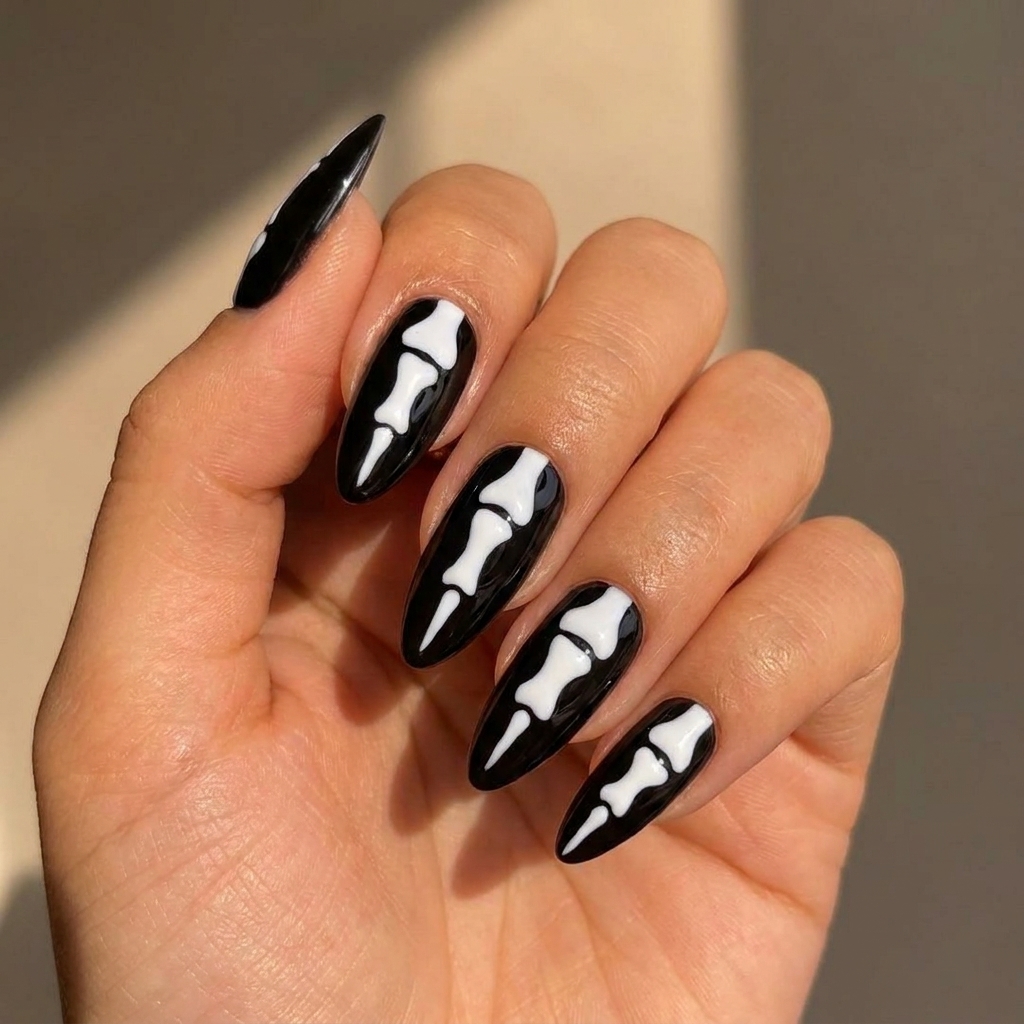
This skeleton bone design is one of those looks you will want to try more than once. The glossy black against bright white gets your nails noticed and is perfect for a little drama whether it is Halloween or you just want something out of the ordinary. My advice is do not stress over perfection — small quirks just make each skeleton unique and unmistakably hand-painted.
Design Questions
- → What skill level is this design?
This design is suitable for beginners to intermediate nail artists. The bone shapes require some brush control, but the steps are straightforward and easy to practice.
- → Can I use gel polish instead of regular?
Yes, gel polish works beautifully for this style. Just be sure to cure each layer with a UV or LED lamp and use a high-gloss gel top coat for extra shine.
- → How long does the skeleton nail art last?
With regular polish, expect 5-7 days of wear. Using gel polish or a builder base can extend longevity to 2+ weeks.
- → How long does this design take to apply?
Plan for 60 minutes, including prep, polish, art, and top coat. Quick-dry products will speed up the process.
- → Can the technique be modified for shorter or different-shaped nails?
Absolutely! Adapt the bone size and arrangement for shorter, square, or oval nails by sizing each bone section to your nail length and shape.
- → What if I don't have a dotting tool or detail brush?
You can substitute a toothpick or bobby pin for dotting and use a fine-tipped makeup brush for the bone outlines if needed.