 Pin
Pin
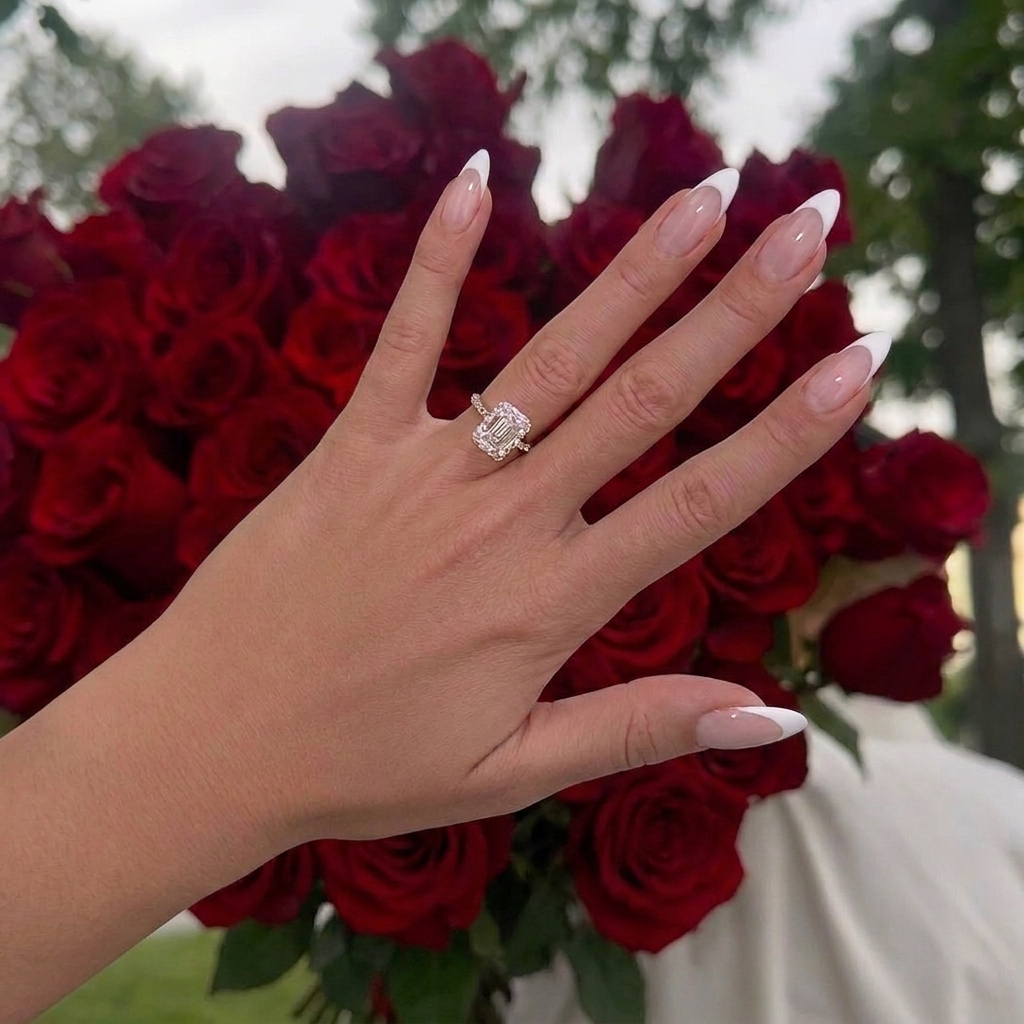
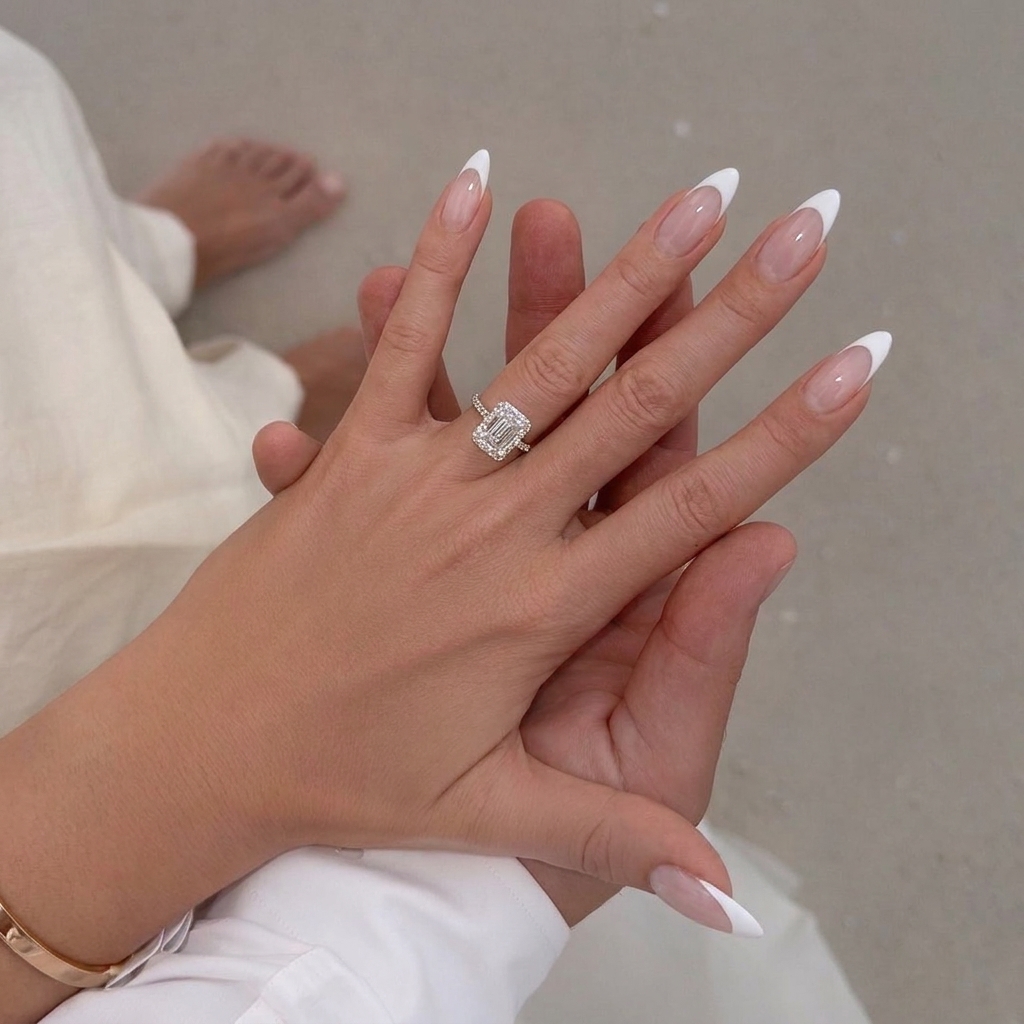
There's just something unforgettable about seeing perfectly polished nails wrapped around an engagement ring for the first time. That soft French look you always see in dreamy proposal photos is actually totally achievable at home, and I have been hooked ever since my DIY mani starred in my own big moment. Whether you are about to say yes or just want your hands to melt hearts on any special day, this is the clean, effortless bridal-femme design you'll never tire of.
Doing this mani before my own engagement made the moment feel extra special and honestly, it made me want to show off my hands all night.
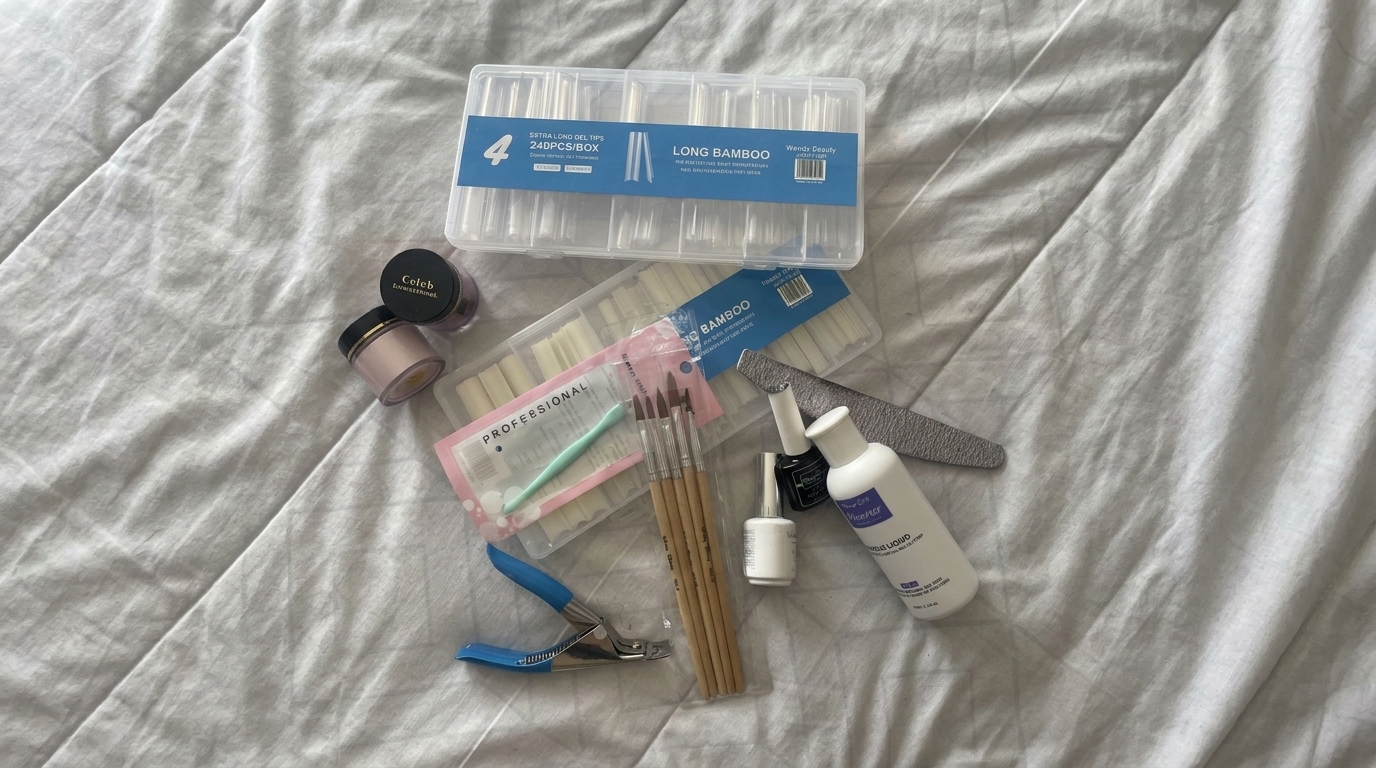
Materials and Tools You'll Need
- Sheer pink-nude polish: with a translucent finish; one to two thin coats per hand
- Opaque white polish: with crème finish for tips; just enough to cover each tip
- Clear glossy quick-dry top coat: for glassy shine
- Thin layer of a clear base coat: for longevity
- Polish remover: for pre-cleaning and tiny cleanups
- Fine-grit nail file: around 180 to 240 grit for shaping
- Cuticle oil: to finish the look and nourish skin
- Lint-free pads: for removing dust or stray polish
- Small fine brush or liner detail brush: for making crisp smile lines
- Flat or angled clean-up brush: for refining the tips
- Palette or foil: for holding a dab of white polish
- Wooden cuticle pusher or manicure stick: for gentle cuticle work
- Optional full cover tips and adhesive: if you want instant length
- Curved French guide stickers: can be used for extra steady lines
I always recommend polishes that go on smooth and do not streak for sheer looks. My favorite sheer pinks usually come from salon brands known for French or bridal shades. If you need guide stickers, look for those with a gentle adhesive so they will not lift your polish layer.
 Pin
Pin
How to Make It Step by Step
- Prepping the Nail:
- Start with squeaky clean nails, free of old polish or oil. File and shape into a gentle almond and check both hands for evenness. Cuticles need just a light push back with a stick or soft pusher. Give your nails a quick swipe with remover to ensure the base coat grip.
- Building Length and Shape:
- If you want extra length or dramatic almond shape, press-on tips are your best friend. Secure with glue or adhesive tabs, then file carefully into the perfect soft-tapered point. Run a dust brush over nails before moving on.
- Creating the French Base:
- Apply a clear base coat in a thin even layer. Once dry, sweep on a sheer blush-pink coat, getting as close as possible to the cuticle and sidewalls without flooding the skin. Let the first coat dry and layer a second coat for extra milky dimension.
- Painting the Smile Lines:
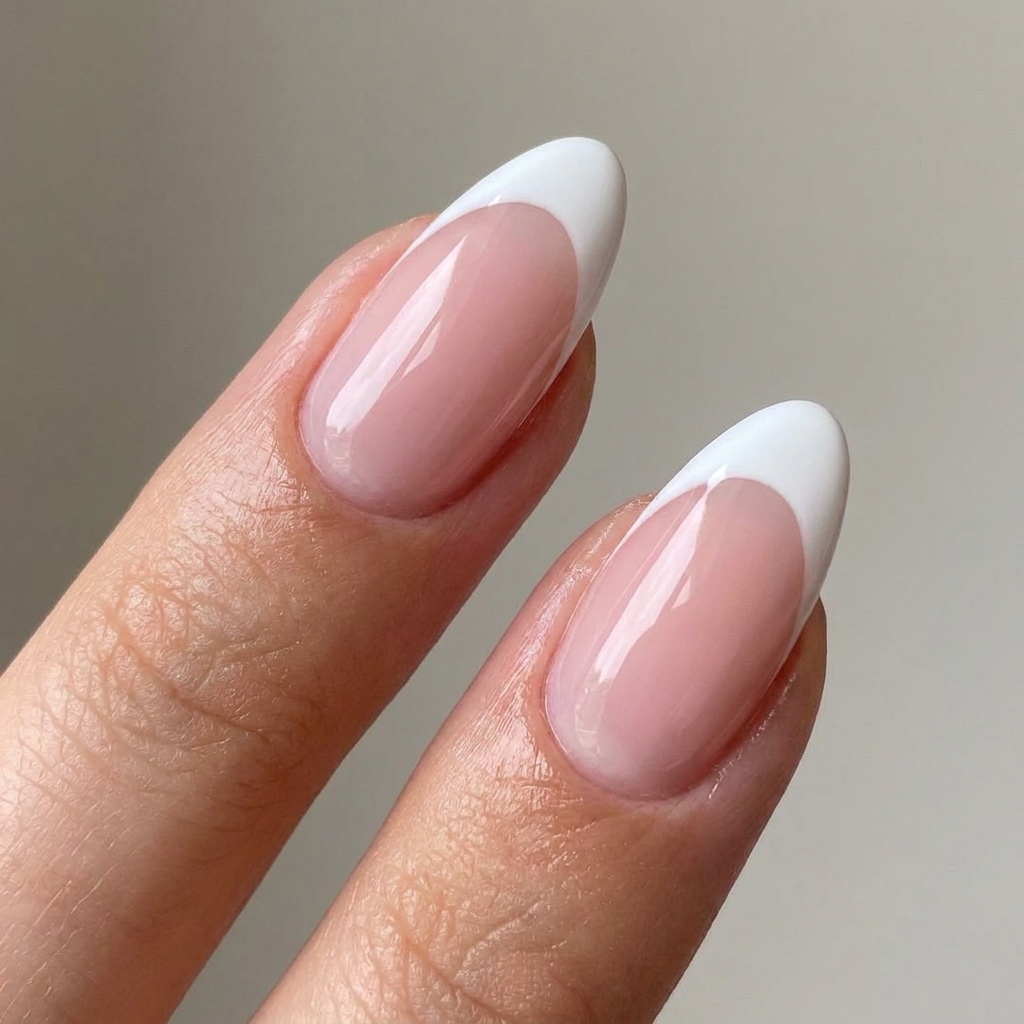
- Put a drop of white on your palette and use a fine liner to sketch out the deepest part of your French smile line at the nail center, meeting both sides in a smooth curve. You can use stickers for guidance but I prefer freehand for a soft, custom look. Fill in the white tip, keeping the color thin and building if needed.
- Perfecting and Finishing the Design:
- Once each tip is solid and streak-free, use a small brush dipped in remover to crisp up any uneven smile lines. Apply a glossy top coat seal, swiping once over the tip for maximum shine without smearing the white. Finish with nourishing cuticle oil after thoroughly drying.
 Pin
Pin
I seriously love the moment when the top coat goes on and every line and color just comes together with that instant shine. The result always makes me feel photo-ready, and honestly, I find the process of shaping every tip almost meditative.
Polish Substitution Guide
If you do not have a sheer pink, mix a drop of your favorite nude with clear polish to get that milky effect. For white tips, stick with classic cream formulas instead of anything matte or shimmering. A quick-dry top coat is a lifesaver for last-minute pre-proposal nerves. If your nails stain easily or need a little color-correction, a pale lavender base coat underneath pink is one of my favorite pro tricks.
Customization Ideas
You can switch up the French tip by trying a softer, more rounded smile line or even go micro-French for a modern minimalist spin. Add a delicate shimmer top coat for subtle sparkle or tiny crystals for a bridal accent nail. Feeling bold Use a baby blue or blush instead of white for a playful twist on tradition.
Common Mistakes to Avoid
The biggest mishap is loading on thick coats which can create smudges or bubbles, so go light and slow. Rushing the dry time is tempting but it will almost always cause dings. Avoid overlapping the smile line too high up which can make your fingers look short instead of elongated.
How to Make Your Manicure Last Longer
Capping the free edge with each polish layer helps seal everything in and really does buy you days of extra wear. Keep hands dry for an hour after finishing, and reapply cuticle oil daily to keep the area soft. Wearing gloves for dishes or heavy cleaning is a total game changer for keeping your fresh mani pristine.
Occasion Ideas
This mani is timeless for engagements but just as gorgeous for bridal showers, fancy dinners, graduations, or everyday polish that gives a little extra confidence. I wore this look for my proposal but often revisit it for big events that call for understated elegance.
Skill Building Tips
Practice smile lines on a plastic nail tip before your own hand. Keep polish close to the palette for quicker fill-in and cleaning. Always turn your hand palm-up to double check symmetry.
What Fellow Nail Artists Are Saying
Friends and clients always gush about how much this DIY French feels like a professional set and some have even worn it to their own wedding or engagement shoot. A salon owner once told me she loved my crisp almond shape and thought I had gotten them done at a spa.
Products Used at a Glance
- Sheer pink-nude polish: with a jelly or milky finish for the base
- Classic opaque white cream: for the tips
- Shiny top coat: with a non-yellowing formula
- Gentle 180-grit file and a detail liner brush
- Adhesive full-cover tips: if length or shape needs a boost
 Pin
Pin
Trying this mani before your engagement or a big event is more than just polish—it is a little self-care ritual that makes you feel poised, polished, and ready to say yes to every new memory. The subtle shine and classic almond silhouette never go out of style, and you will have serious bragging rights when everyone asks where you got your nails done.
Design Questions
- → What skill level is this design?
This design is suitable for beginners and intermediate artists. Anyone comfortable with simple polish and basic shaping can achieve it.
- → Can I use gel polish instead of regular polish?
Yes, you can use gel polish for longer wear. Cure each layer under a UV or LED lamp as instructed for gels.
- → How long does this French manicure last?
With quality products and top coat, expect up to a week’s wear with regular polish, or 2–3 weeks if using gel polish.
- → How much time does application take?
Application generally takes about 50–70 minutes including shaping, painting, and drying time.
- → Can I modify the technique for shorter nails?
Absolutely. Adapt the smile line to any length or nail shape for a French look, though almond tips enhance elegance.